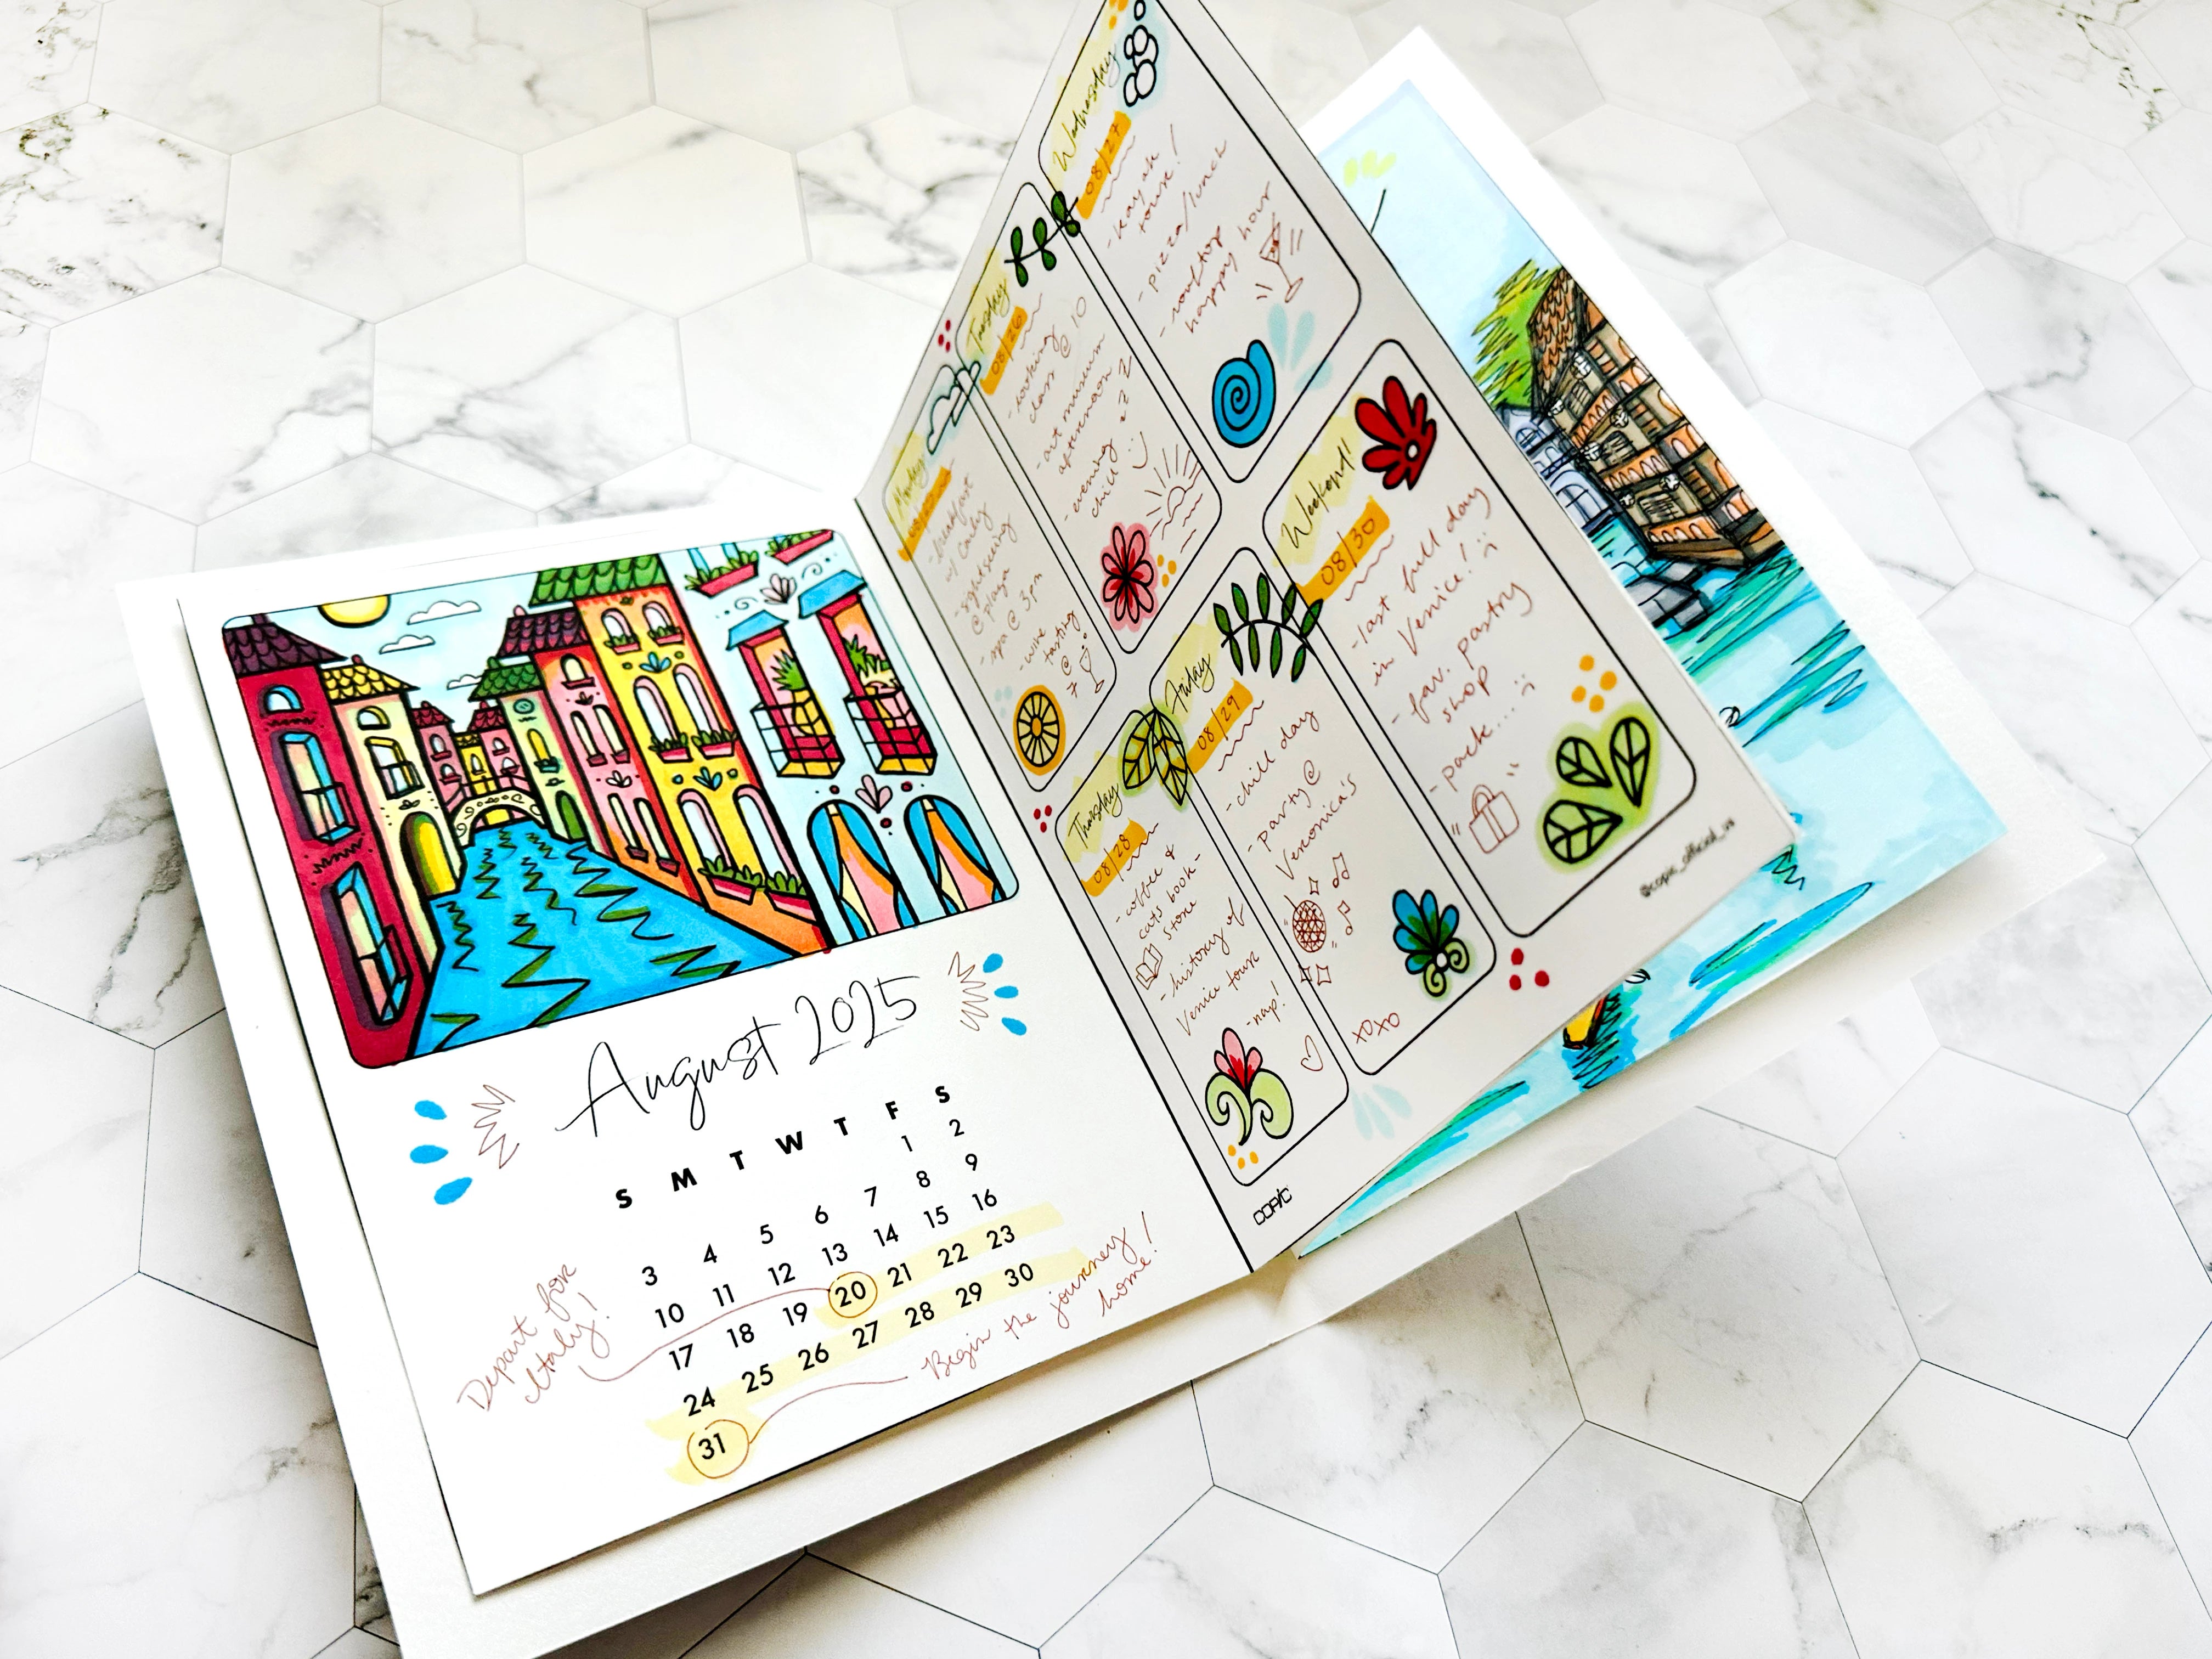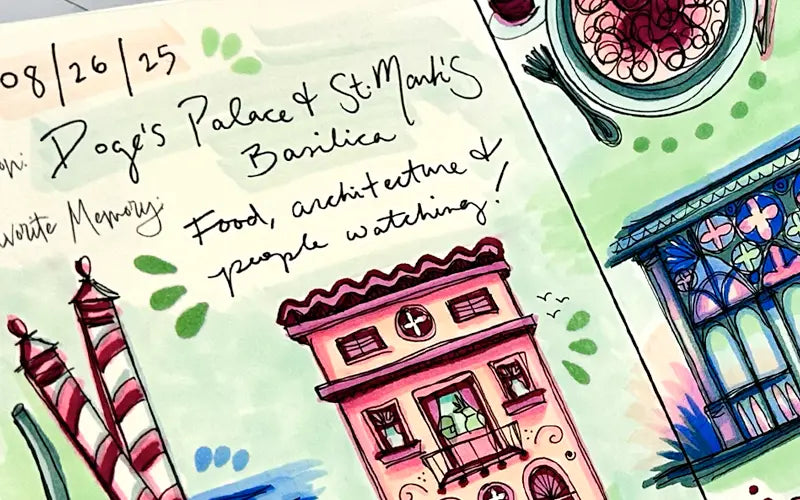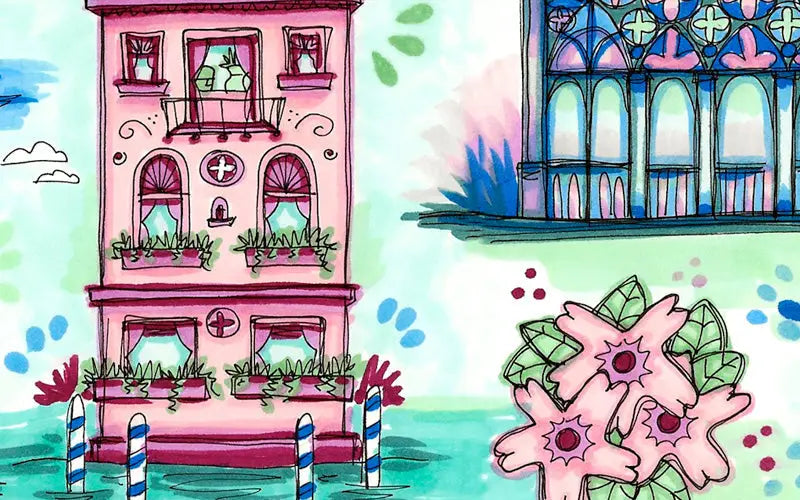

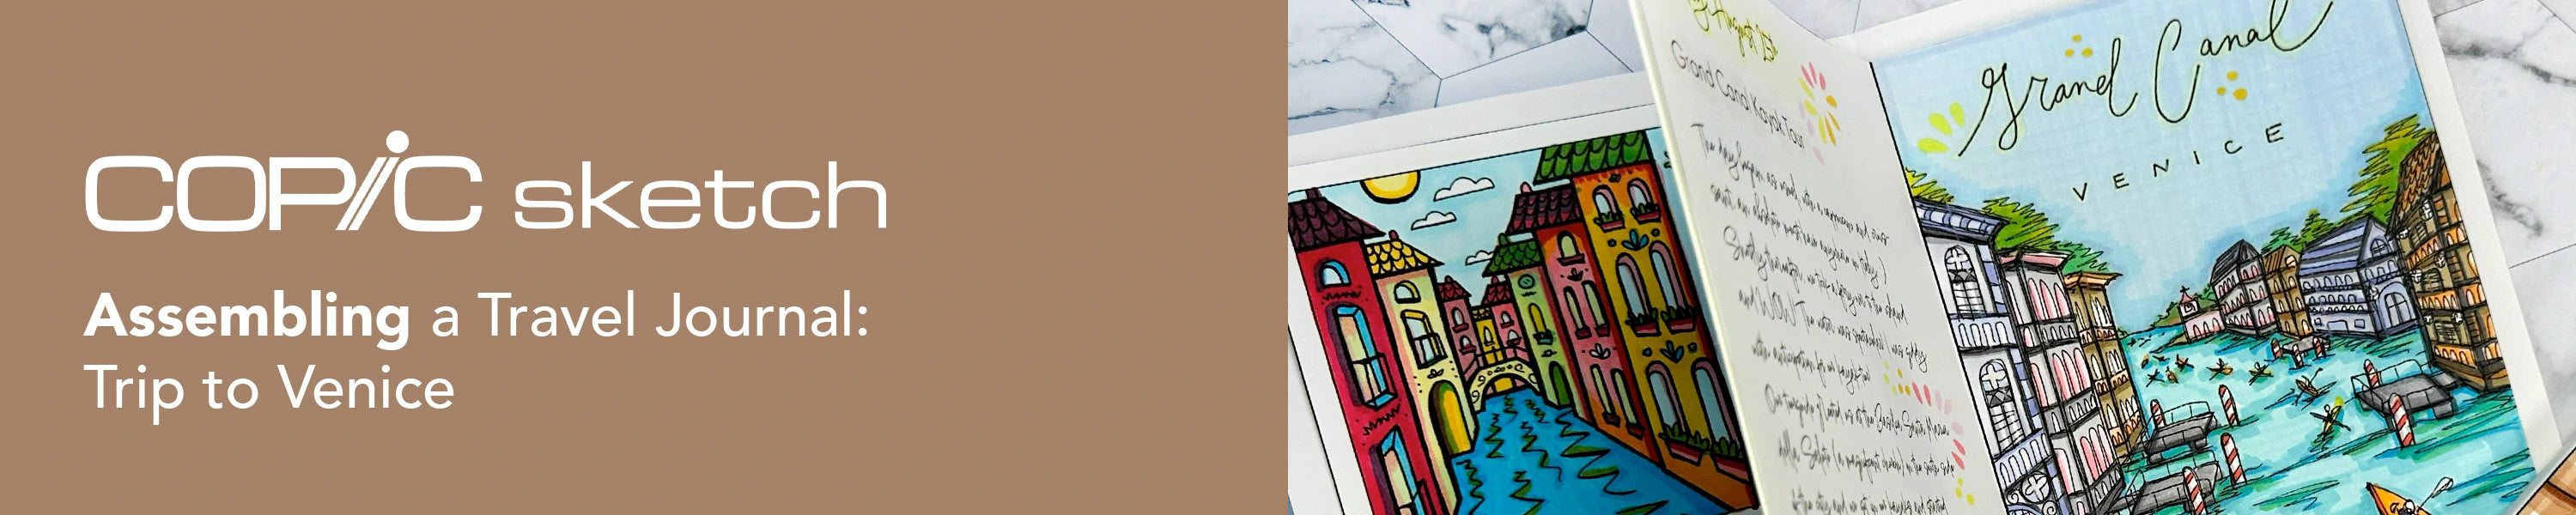
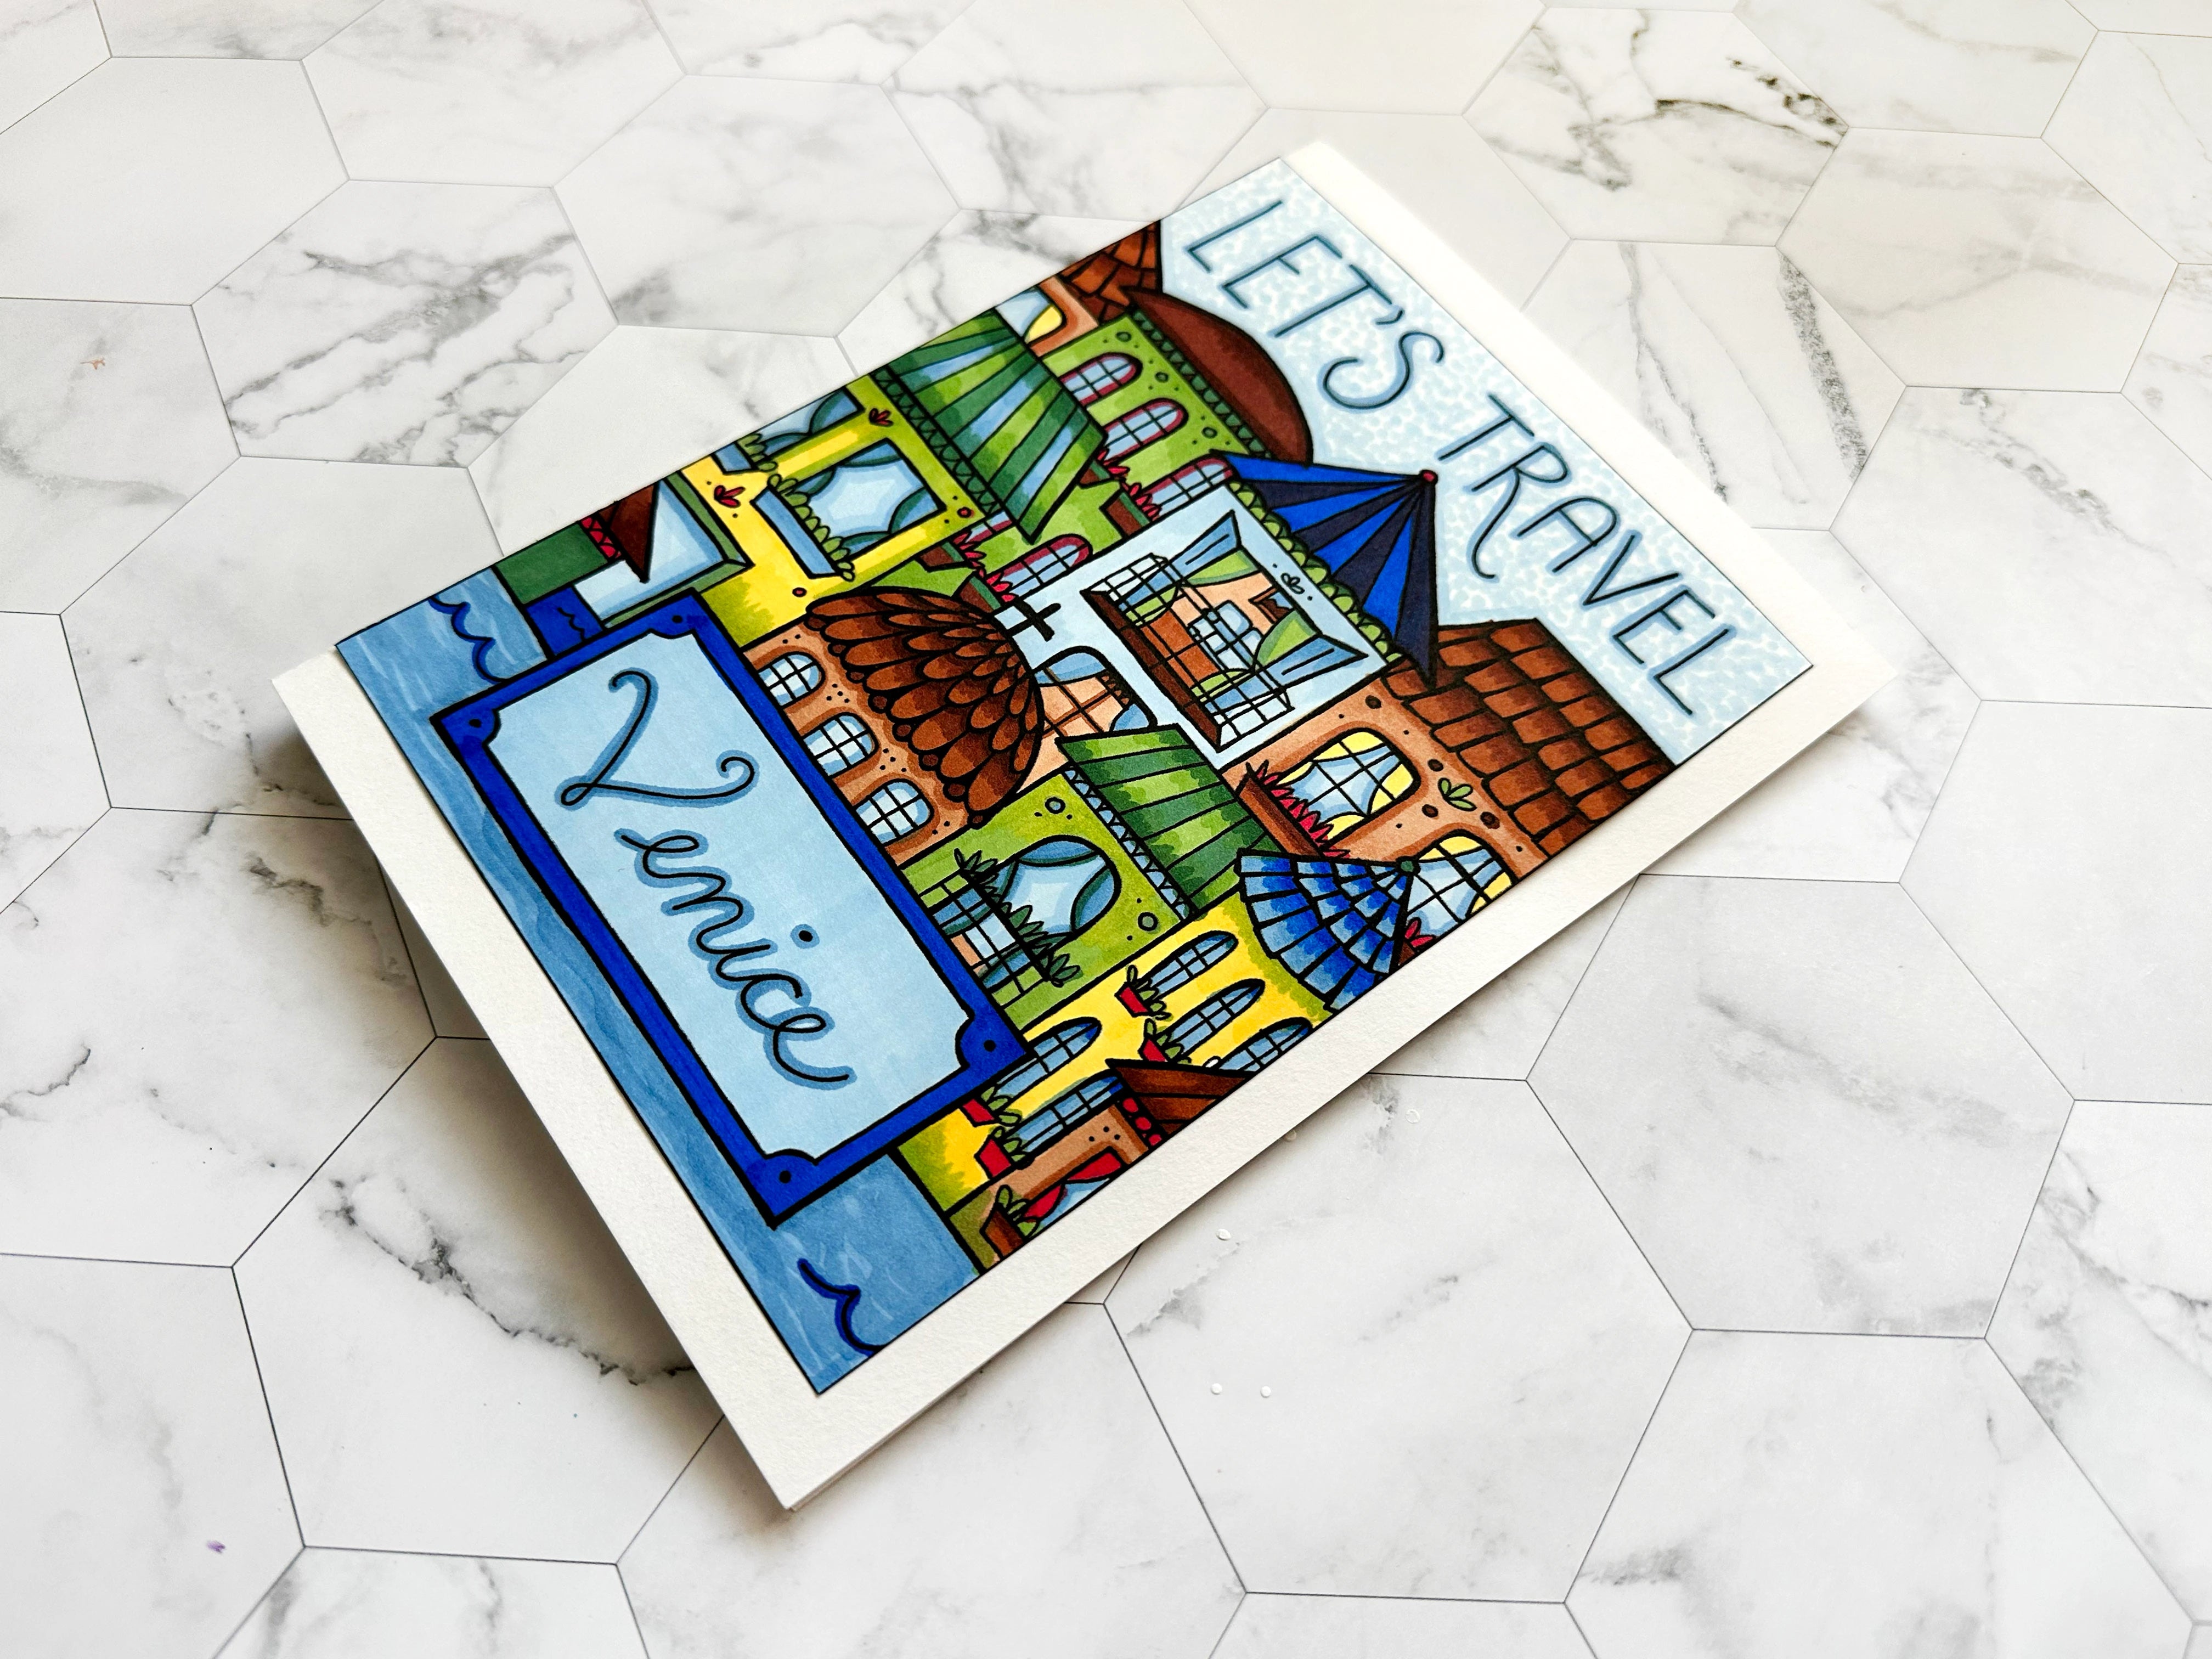
Howdy Copic readers! In our previous blog, we wrapped up coloring our travel journal entries by finishing our plein air sketches using the Sketch Sea & Sky and Floral Favorites One 6 pc sets. Today, we’ll be showing you how to assemble a two-page journal using the Venetian cover, the vertical weekly insert and the Grand Canal featured destination insert. And with that, let’s take a look at the video below and get started!
To begin assembling this small travel journal, we’ll start by cutting the cover down the middle, which is conveniently easy since the template already shows the line of the spine. We’ll then glue it to a separate sheet of blank A4 paper, which is slightly longer and narrower than a standard 8.5x11 sheet. Using white cardstock, the artist chose this basic color so it won’t distract from the vibrant colors on the cover, but you can use any color you wish (black, blue, leather brown, etc.). By using a larger sheet of paper to glue the cover onto, this will create the extra space we’re looking for to give the interior pages more room.
After gluing each half of the cover to the blank cardstock, the artist measures and trims a few millimeters of paper from the top of the A4 sheet. This allows the same amount of white to be seen across all edges of the cover, creating an even border throughout.
Next, the artist folds the white cardstock along the interior edges of the front and back covers, creating a thicker spine in preparation for the interior pages. Notice how the colored drawings are flaring up a bit along the interior edges where the folds have been made. The artist is going to reinforce this with glue and a small amount of painter’s tape to make sure the illustrations lay flat on the sheet of white cardstock.
Now that the cover is taken care of, it’s time for the fun part; adding the interior pages! The artist chose to use the flexible blue painter’s tape for this, just in case this method of adhering doesn’t go as planned…and it worked out nicely since some of the marker bleed-through is showing from the opposite page! That being said, the artist will remove the tape behind-the-scenes and try the opposite approach; by taping the interior pages together instead.
This second attempt at adhering the two interior pages together resulted in more flexibility in the spine, while also not showing any marker bleed-through while turning the pages back and forth. While this attempt of taping is more successful than the first, it still has some imperfections. You can’t open each page and lay them completely flat. Perhaps there is a better way to add these interior entries to the travel journal, but for a simple, quick and cost-effective method, this sure does the trick!
And with that, we wrap up today’s blog! In our next blog, we’ll be showing you how to assemble the General travel journal using three inserts. Until then, don’t forget to follow us across our social media channels @copic_official_us, and sign up for exclusive discounts and prizes by joining the Copic Club! One last thing - use #copicwithus or tag us @copic_official_us for a chance to have your drawings or workspace featured on our Copic US social media channels.
Thank you so much for reading and enjoying Copic markers as much as we do! 😀