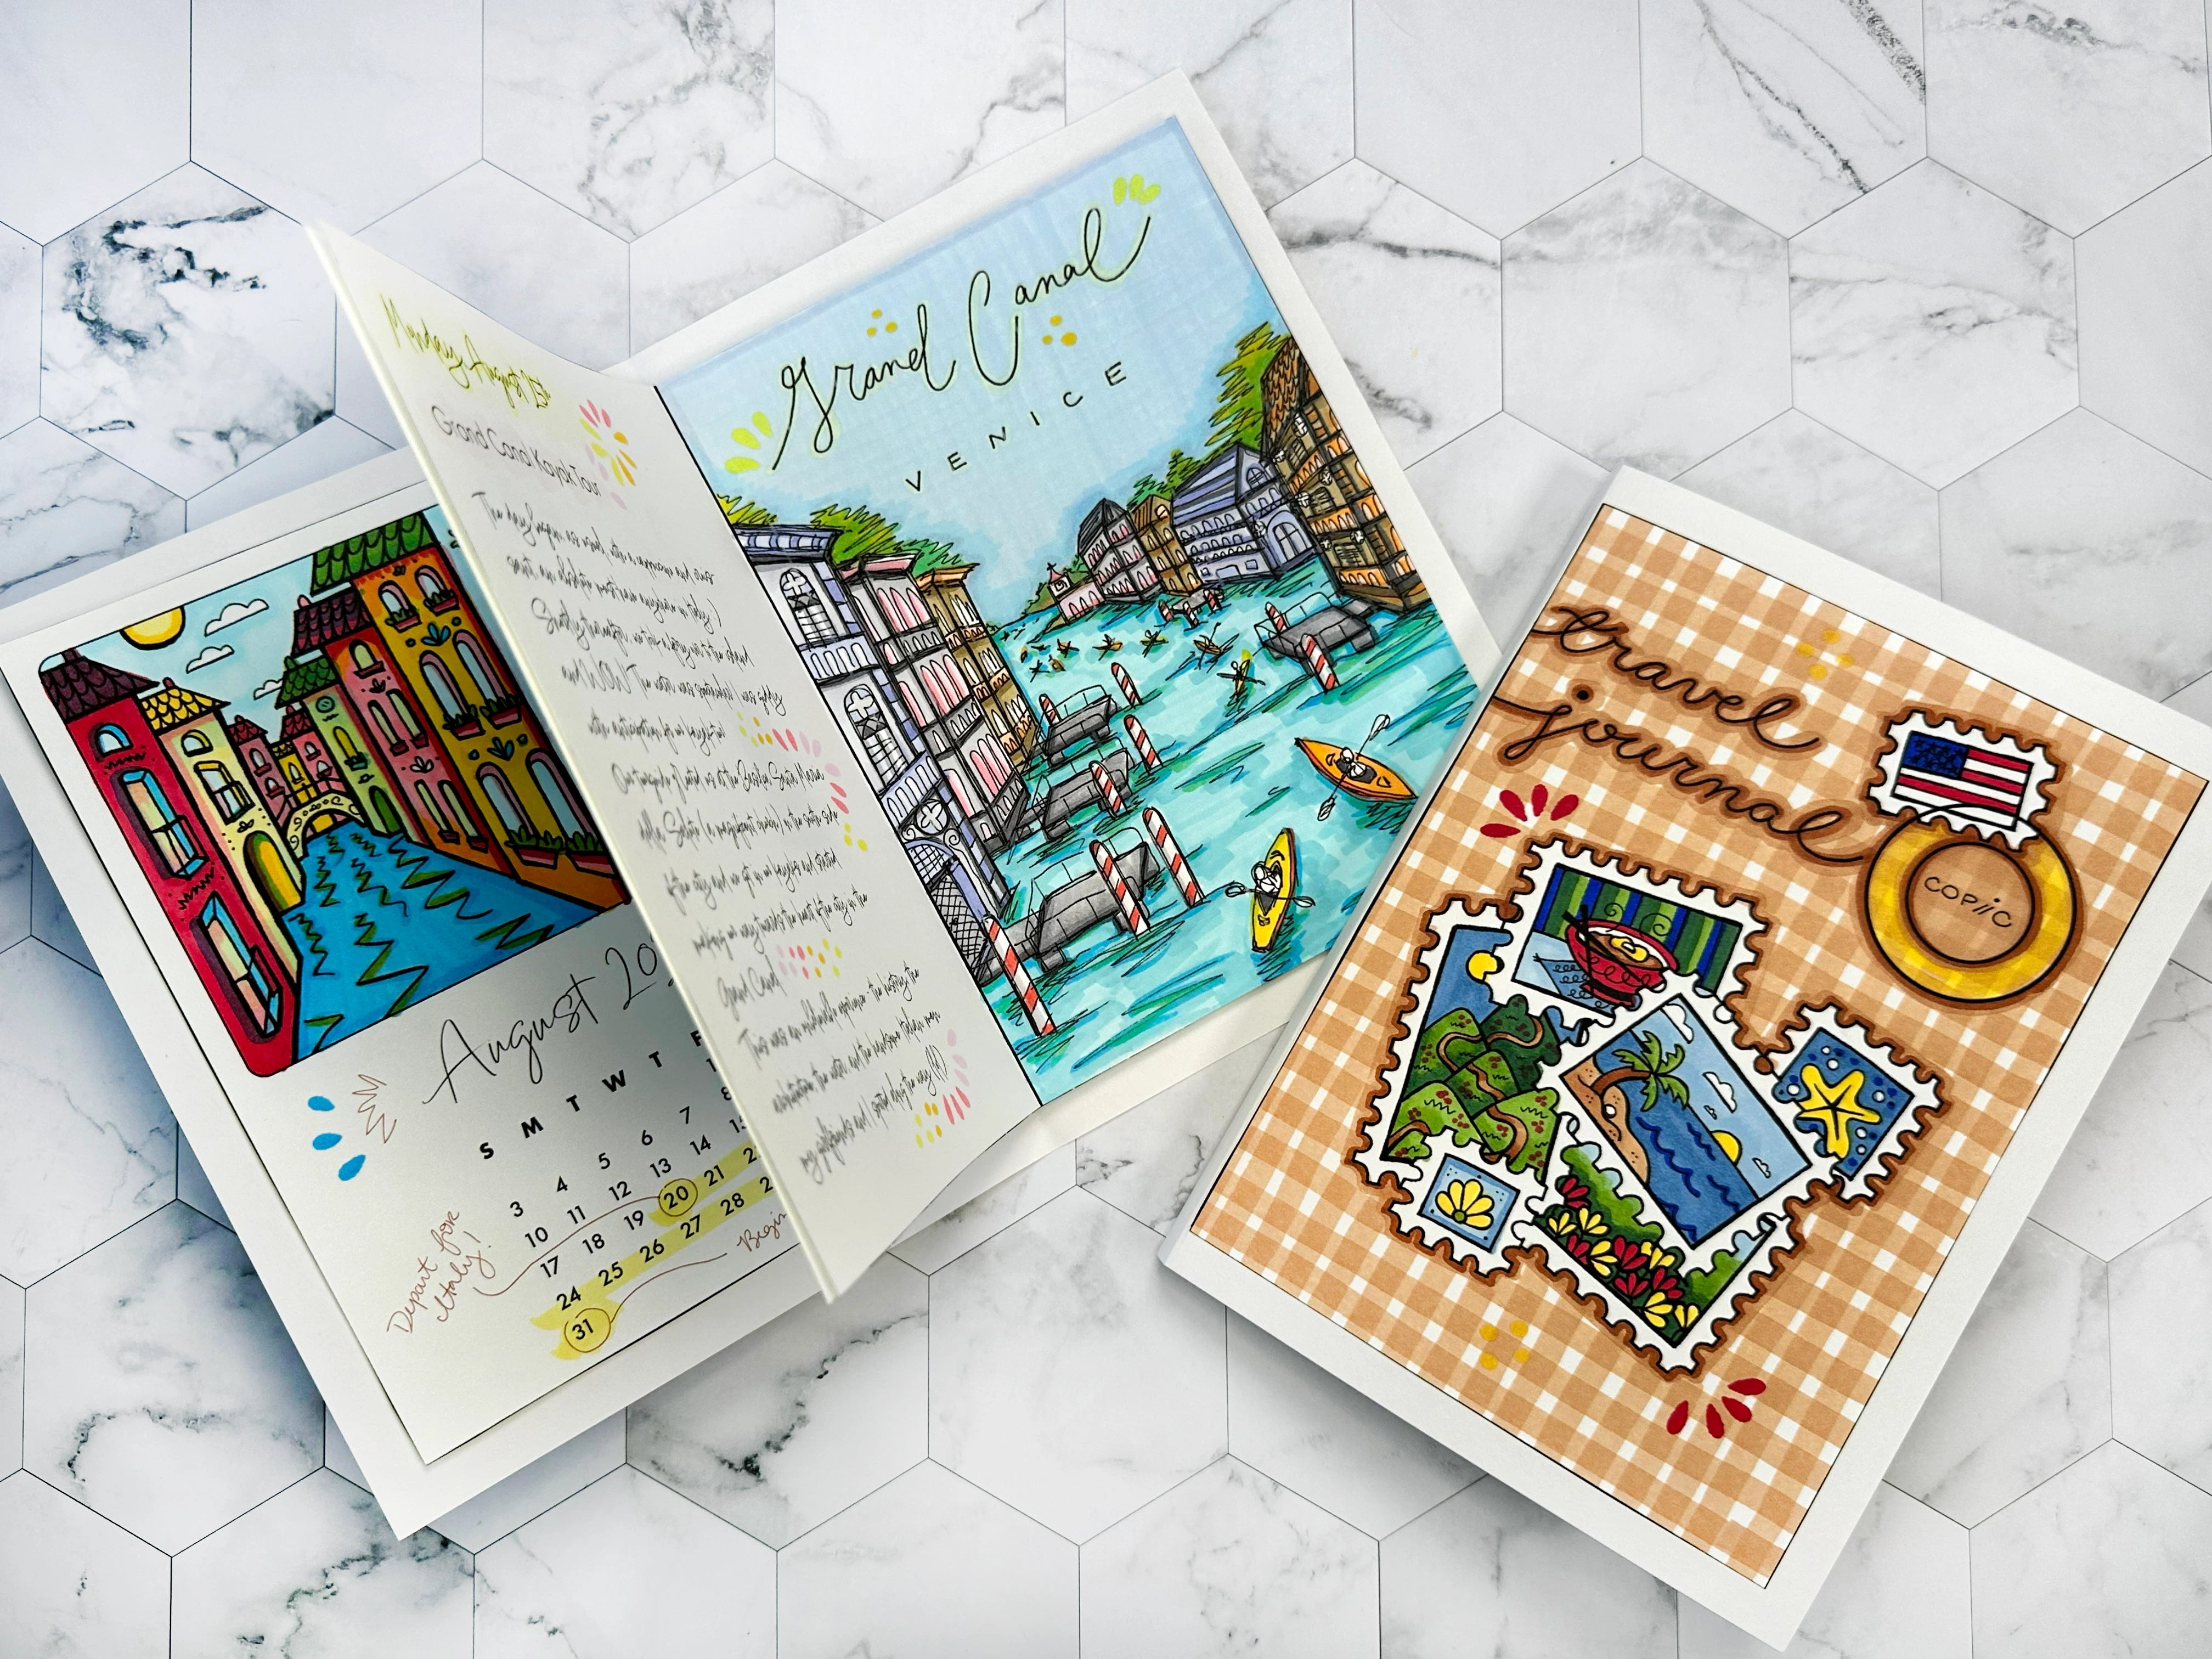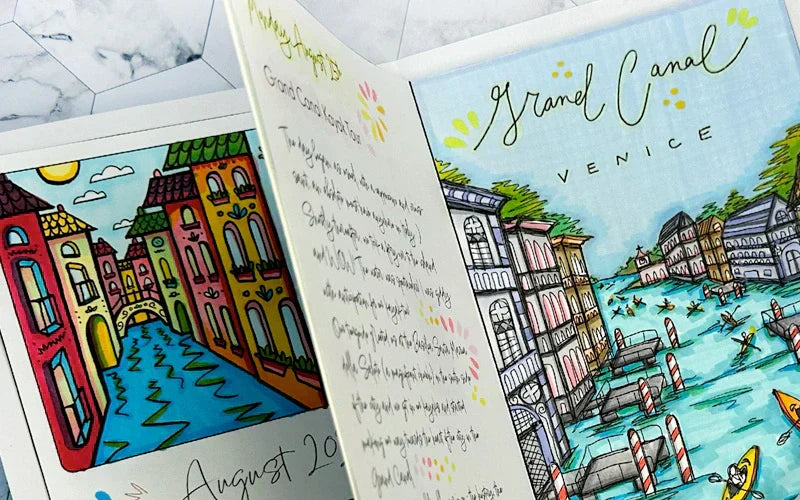

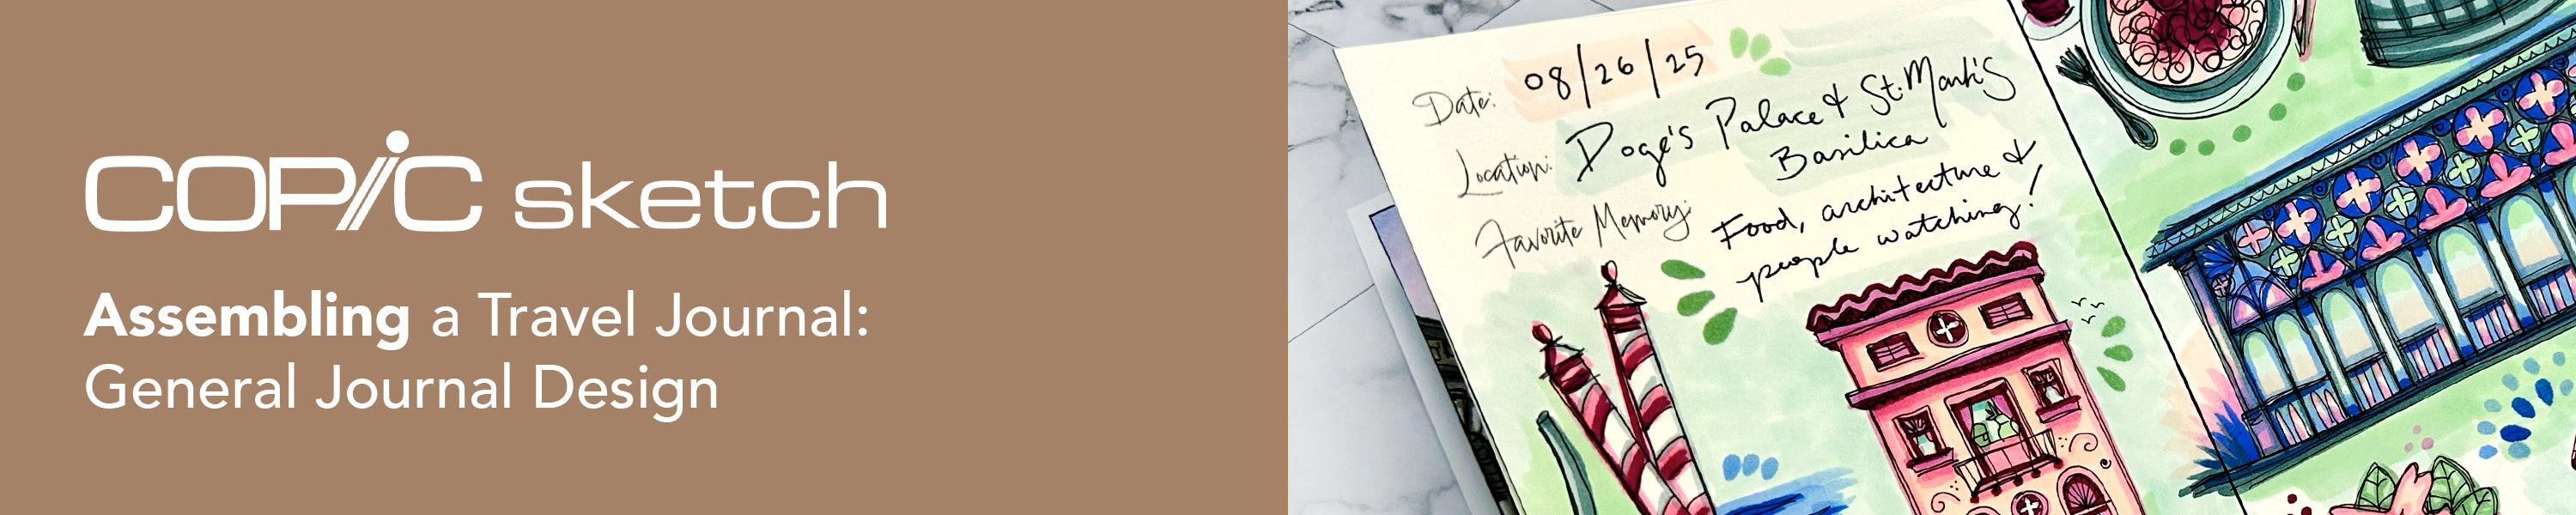
Hello Copic readers! In our previous blog, we showed two ways to assemble one of our mini travel journals using the Venetian cover design and two inserts. Today, we’ll be showing you how to assemble a three-page mini-journal using the General cover design, the horizontal weekly insert, the Ponte di Rialto illustration and the plein air sketches. With that, let’s take a look at the video below and get started!
If you’ve been following along with this blog series, you’ll remember that earlier in the month, we began assembling our first mini-travel journal by cutting the cover design in half and gluing it to a separate, larger sheet of A4 paper. This is to create a larger spine to fit the interior pages inside. Today, we’ll start off with the same process for this booklet of three pages.
Keep in mind, if you’d like to use a different color of cardstock instead of plain white, feel free! Perhaps a dark brown or black would complement the tan checkered pattern seen here as well.
Next, the artist completes the same steps as the previous journal:
-
Cut and paste each half of the cover to the white cardstock.
-
Trim 10mm off the top to create an even border of white throughout.
-
Fold along the interior edges of the front and back covers, creating the spine of the book.
After those first three steps, the artist:
-
Begins taping* each of the inside pages to each other using blue painter’s tape, adding it to the back of the 1st and 3rd pages only.
-
Then, they carefully tape the 2nd page to the 3rd one first, making sure the edges of each paper are lined up as best as possible. The artist repeats this step again, but with the 1st page next, making sure all three interior pages are taped together in an accordion fashion.
-
Finally, it’s time to tape the interior pages to the cover by starting with the 3rd/back sheet. Make sure the middle of the page lines up with the spine’s right fold-line. Repeat this step again for the 1st page, again lining the crease of the insert with the left fold-line of the spine.
*The artist likes using blue painter’s tape since this is a flexible “glue,” as in, it’s easy to peel off if you taped it in the wrong spot. Another bonus to blue tape is that it doesn’t damage the back of the paper. Other flexible “glue” options are mod podge or rubber cement. Just be sure to work fast with these other two choices, because when they dry quickly, they’re hard to move!
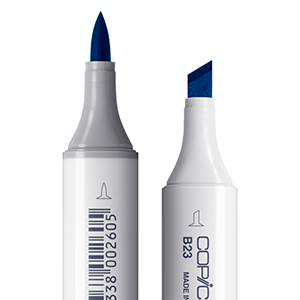
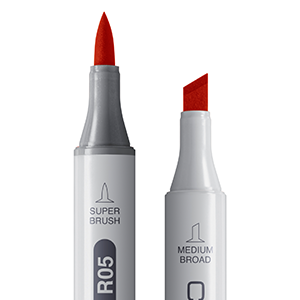
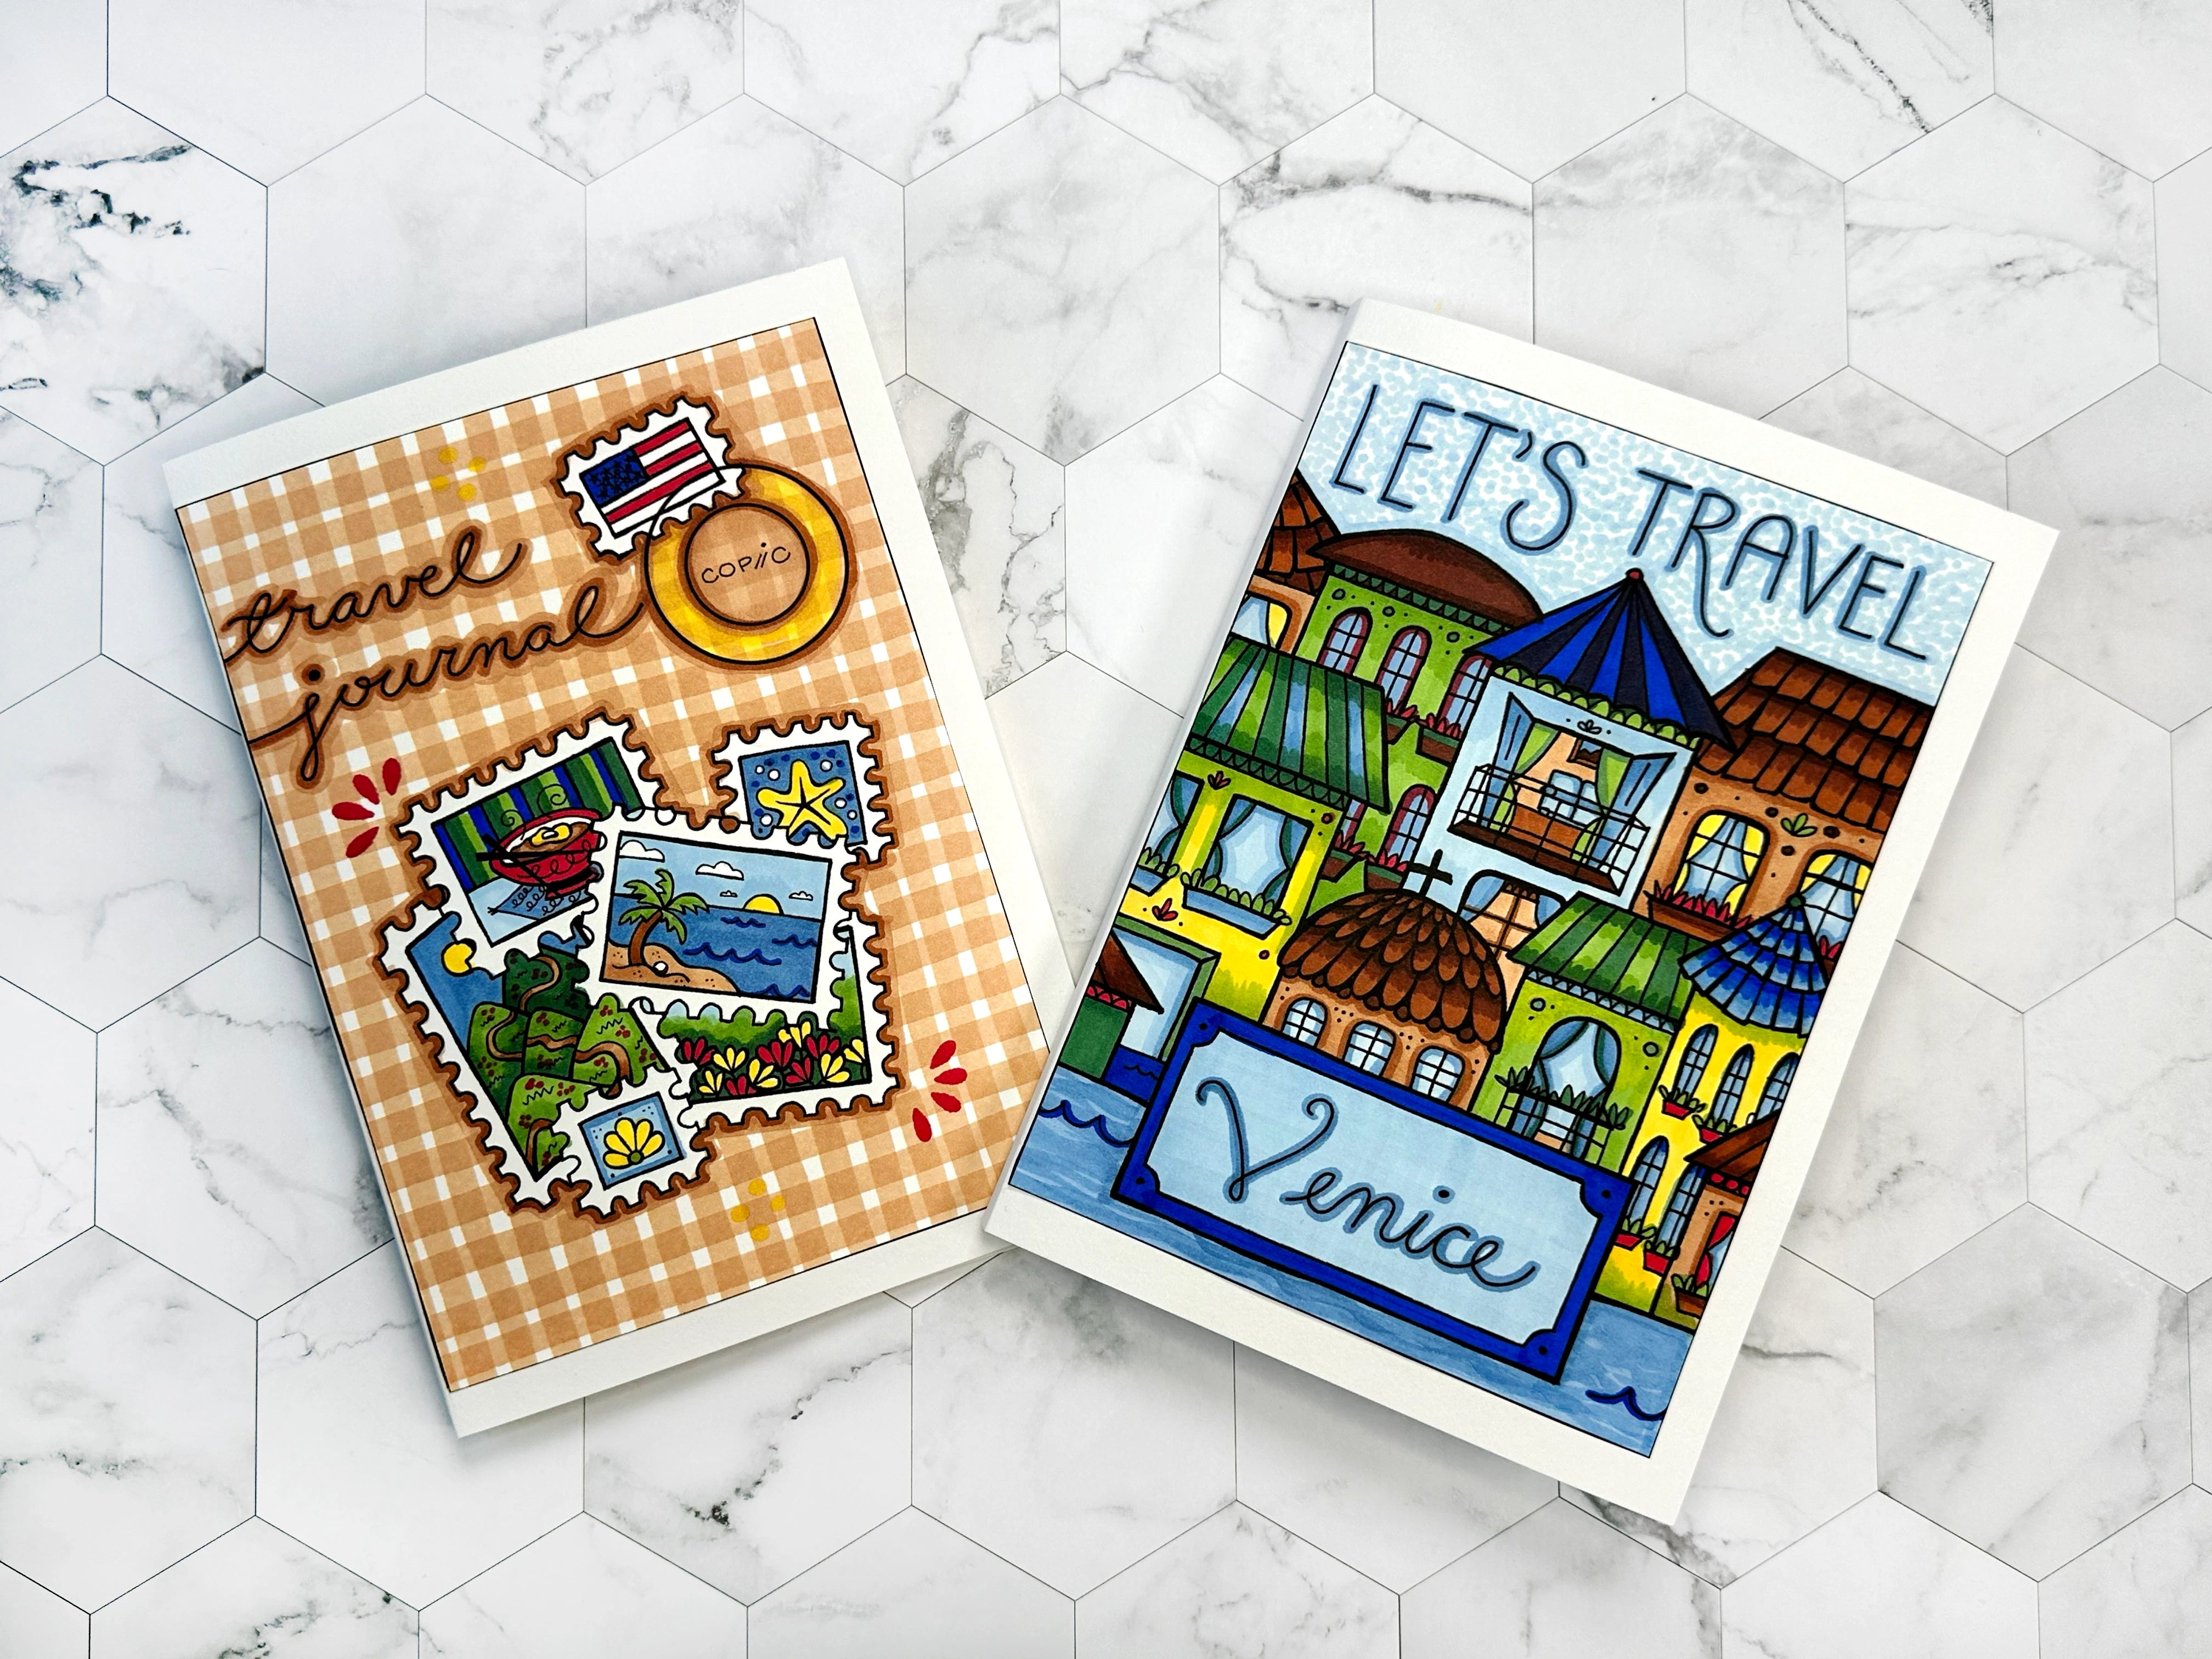
Now that both travel journals have been assembled, let’s take a look and compare! We started off this blog series by showing how to draw and outline each component of the journals using black Multiliner pens. Then, we showed how to color each page by using a variety of different Sketch marker sets. Finally, we showed how to assemble each journal by using common crafty tools like blue painter’s tape and white cardstock.
While there are many other ways you can outline, color, and assemble a travel journal, we hope that this exploration into sketching has inspired you to document your own trip using Copic Multiliner pens and Sketch markers!
And with that, we wrap up today’s blog and this series on travel journals!
Don’t forget to follow us across our social media channels @copic_official_us, and sign up for exclusive discounts and prizes by joining the Copic Club! One last thing - use #copicwithus or tag us @copic_official_us for a chance to have your drawings or workspace featured on our Copic US social media channels.
Thank you so much for reading and enjoying Copic markers as much as we do! 😀