Copic Ink Series: How to utilize all the features of Copic Ink
Today’s Feature:
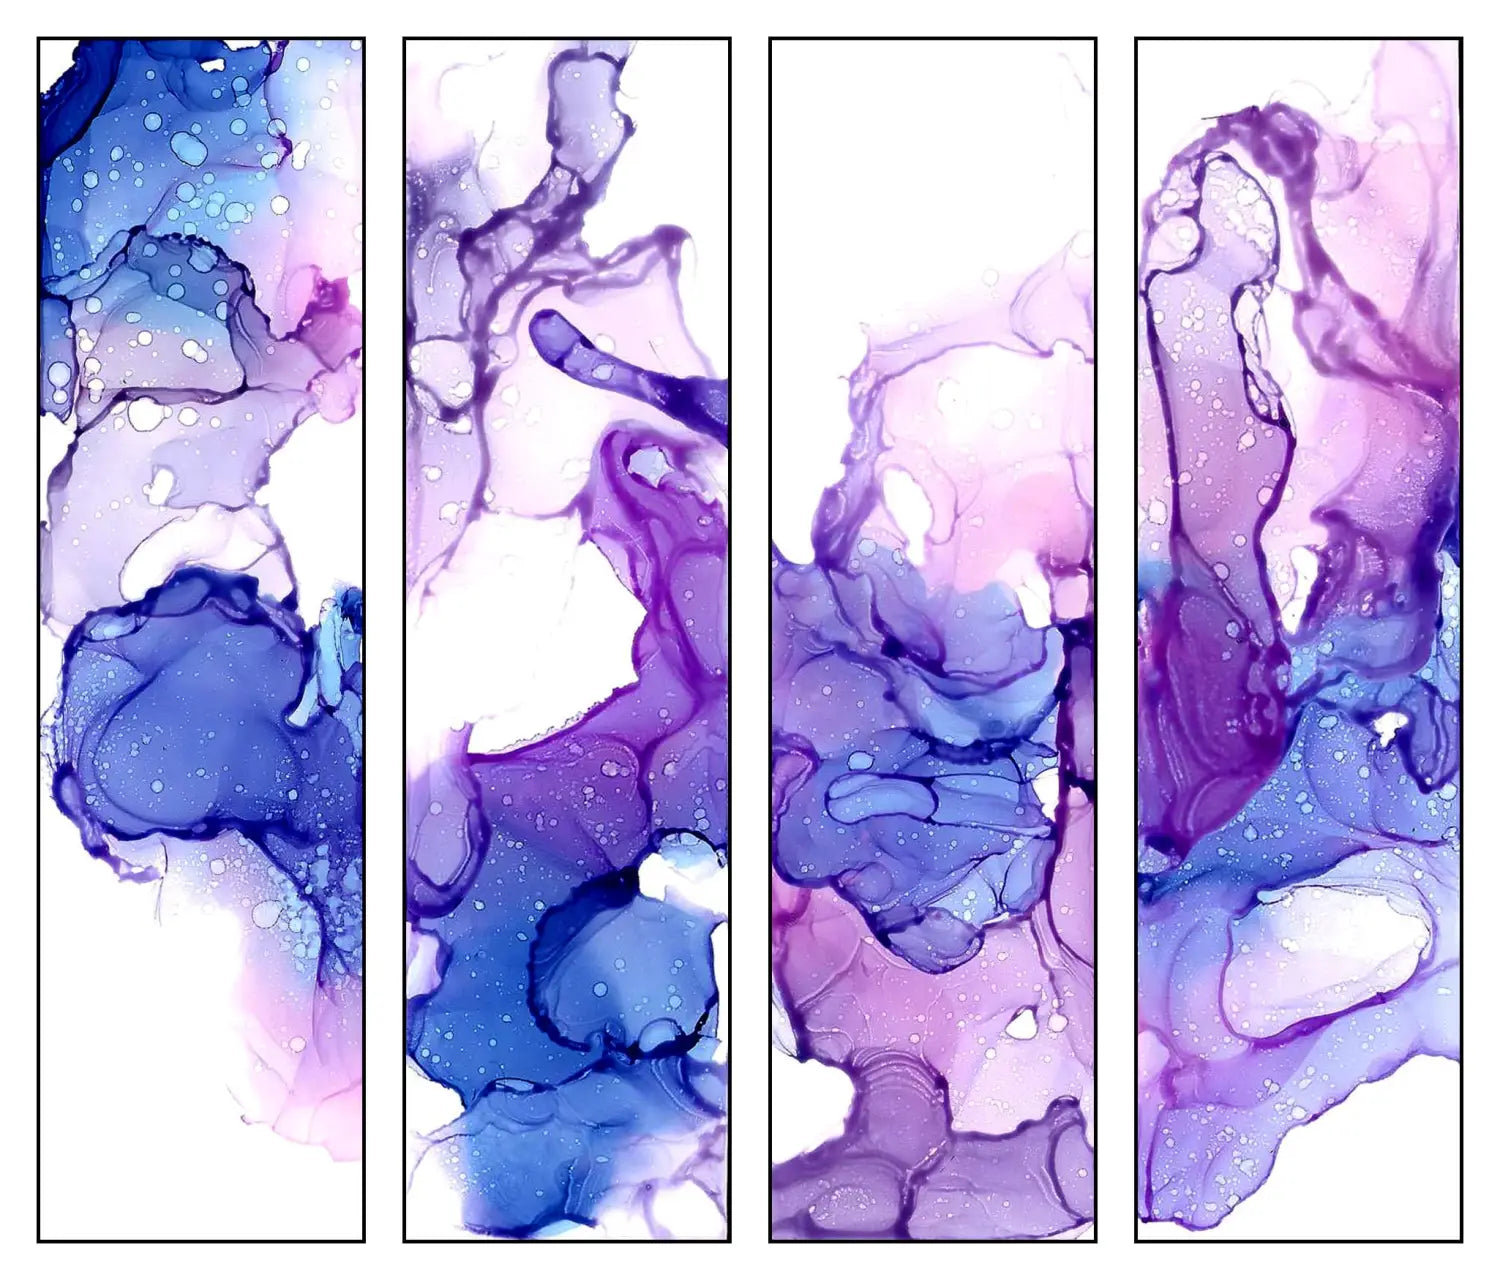
How to Create Multiple Bookmarks out of a Copic Ink Painting

Hello Copic readers! In our previous blog, we showed how to use Copic Ink as a painting medium to create an orange monochromatic piece. Today, we are going to wrap up 2023 by showing you how to create multiple bookmarks using Copic Ink! So, with that being said, let’s go over all of the materials you’ll be needing to get started:
- A glass pane or sheets of cardboard to work on
- Yupo paper, or any other brand of synthetic paper
- Washi or Painter’s tape, for establishing crisp bookmark borders
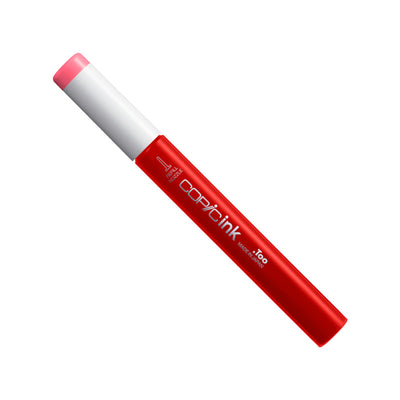
- Copic Ink colors - I used BV00, BV02, RV000, and RV02 for the piece in this blog
- A hairdryer, make sure it has a cool setting
- 91% isopropyl alcohol
- Small (plastic) cup - I use a Daisy sour cream container
- Eye-droppers
- Q-Tips
- Paper towels
- Plastic gloves
- A firm-bristled toothbrush
- Scissors, a pencil, and a ruler

Now that we’ve addressed all of the materials, let’s review 3 things you should know before you start painting:
1. The ink dries FAST! Be sure to move quickly to be able to push the ink around the paper. Add isopropyl alcohol to your pure Copic Ink colors to see the pigment spread across the page even faster!
2. Be sure you have a good amount of DESK SPACE! Clear off your workstation ahead of time, so in case you have any spills or accidents, the damage can be mitigated.
3. Be prepared with ALL your materials (and plenty of paper towels) BEFORE you start! Similar to the second point, be sure to have plenty of paper towels nearby in case of a spill. You also want to have all of your ink colors uncapped, your paper prepared (in the case of this particular project, washi tape applied), and your hair dryer cord has plenty of room to move around the page without knocking something on your desk over. This advice comes from experiencing a few desk accidents before!
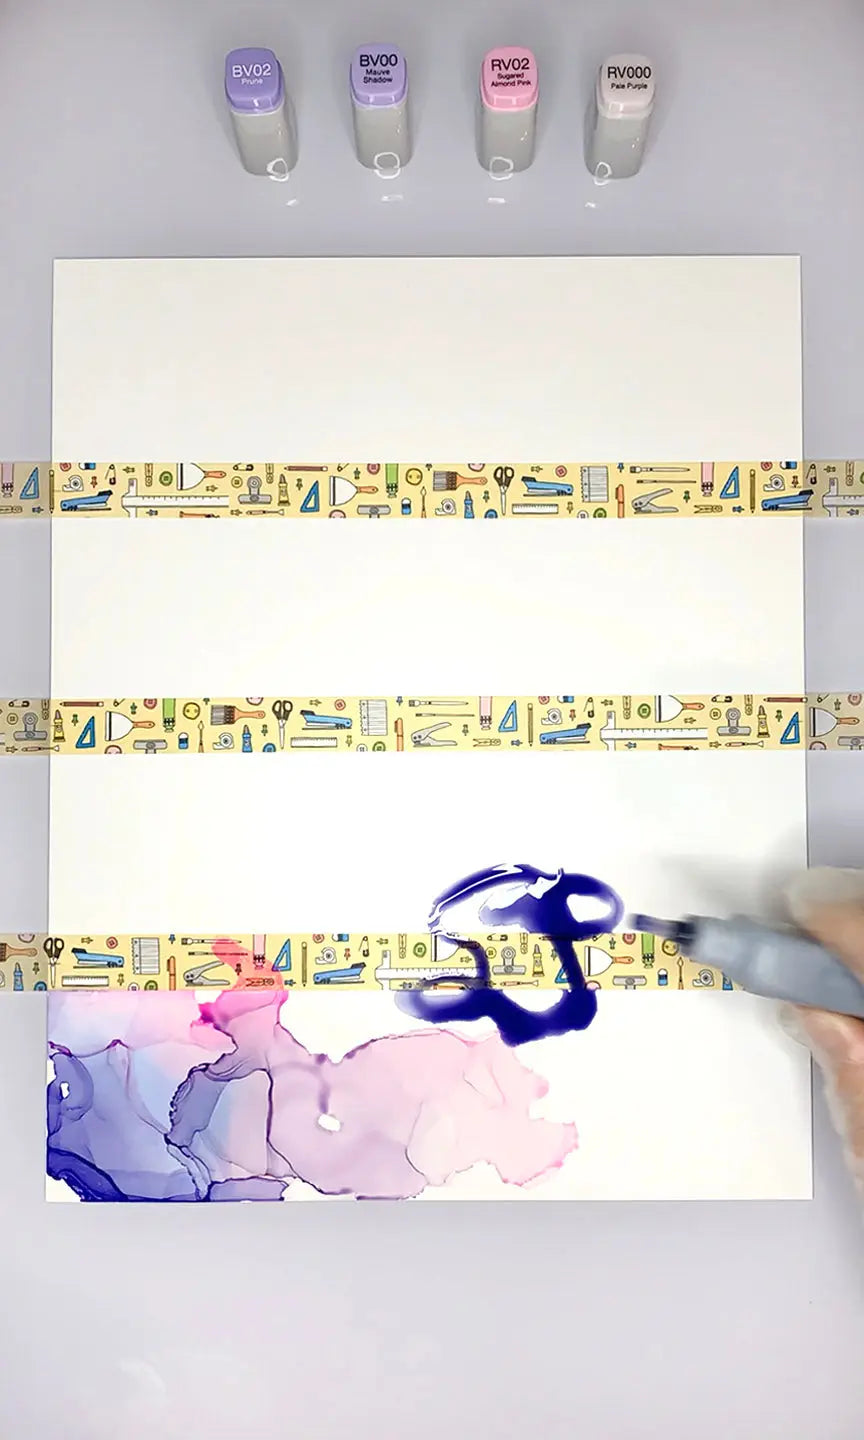
Now that we’ve covered all the basics, we’re ready to get started! Notice how, in the process timelapse video above, I have 3 strips of Washi tape applied across my 8x10 inch sheet of Yupo paper, leaving extra room to stick the paper to my glass panel/working surface. This is a little tip I like to use to help the paper stay in-place when I turn on my hair dryer, which can sometimes cause not only the ink to move around, but the page too! The tape also allows for clean, crisp lines once I’ve finished creating my ink painting, making it easy for cutting each bookmark out later.
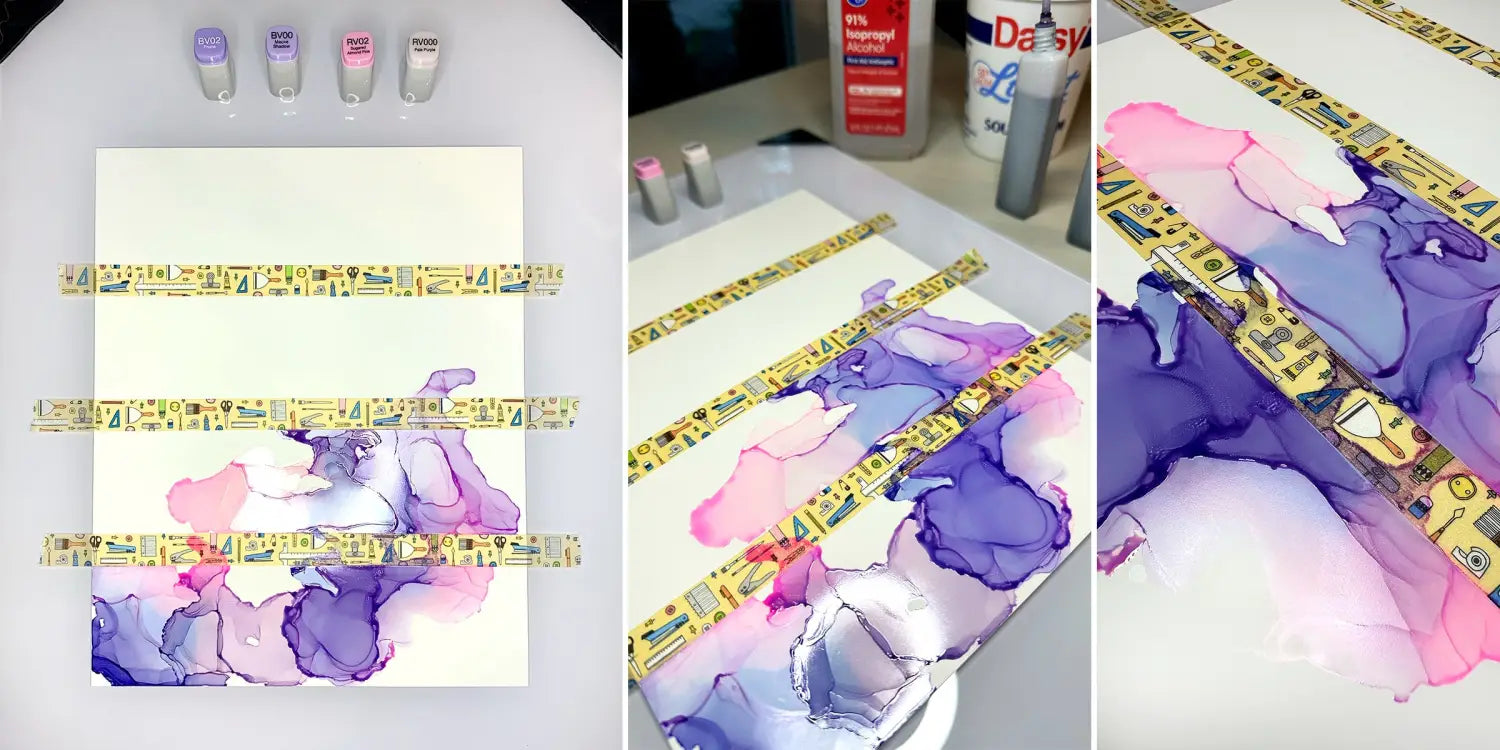
Another tip to point out when creating any ink painting: start with one of your corners. I chose to start in the lower left for this piece, then worked my way up the paper by moving diagonally to the right. It’s a personal choice to not fill the entire page with ink, and what I find when I leave some of the paper plain white is that it creates a “resting area” for your eye (and a higher amount of contrast) from all of the small ink details!
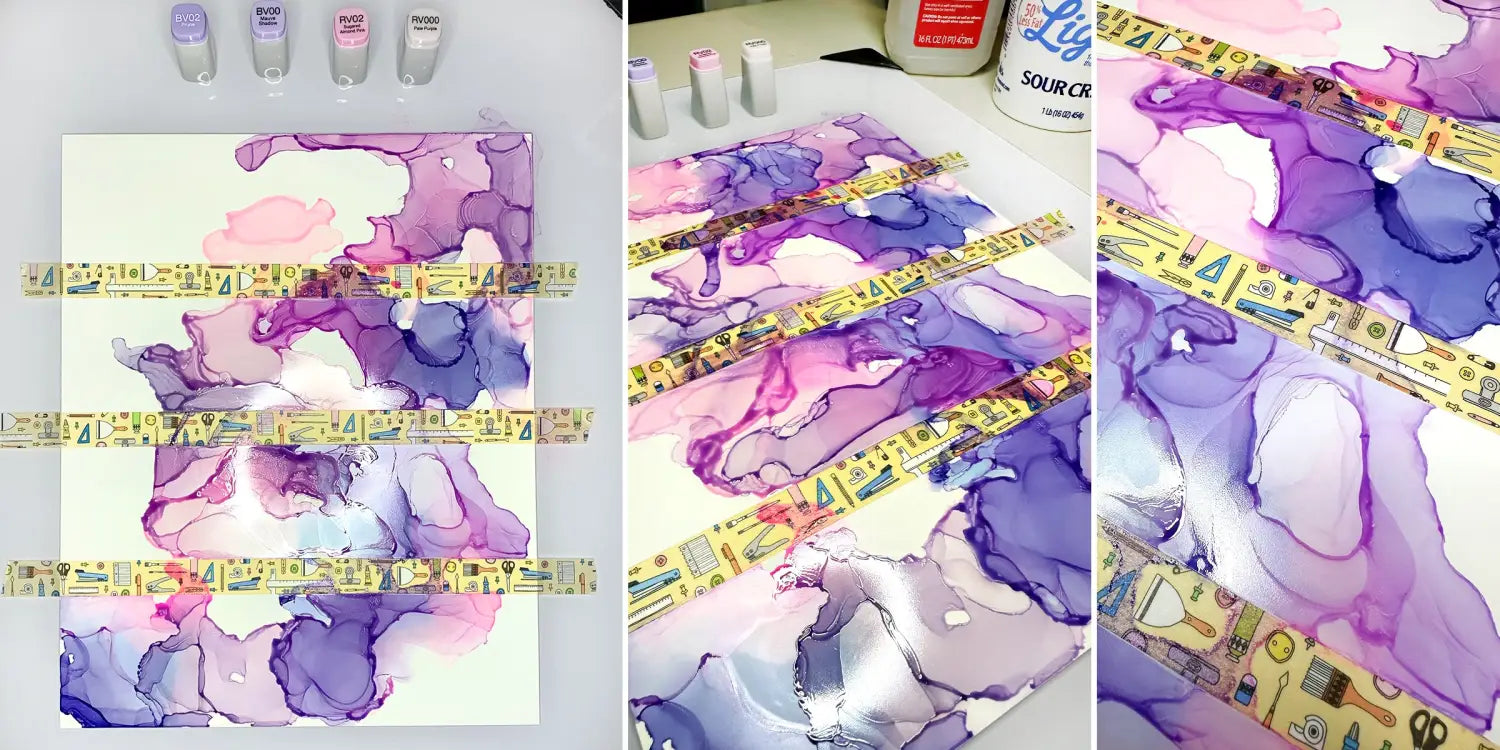
Next, I continued adding all 4 of the Copic Ink colors diagonally across the synthetic paper. By choosing colors that are close together on the color wheel, and of similar value (BV02 and RV02, and BV00 and RV000), the inks blend together beautifully to create new colors. For example, in the second-to-bottom bookmark, there’s an interesting light blue color that’s starting to show through as a result of mixing BV02 and RV000 with clear isopropyl alcohol (and the heat of the hair dryer). As a result, this simple, 4-color palette has created amazing effects!
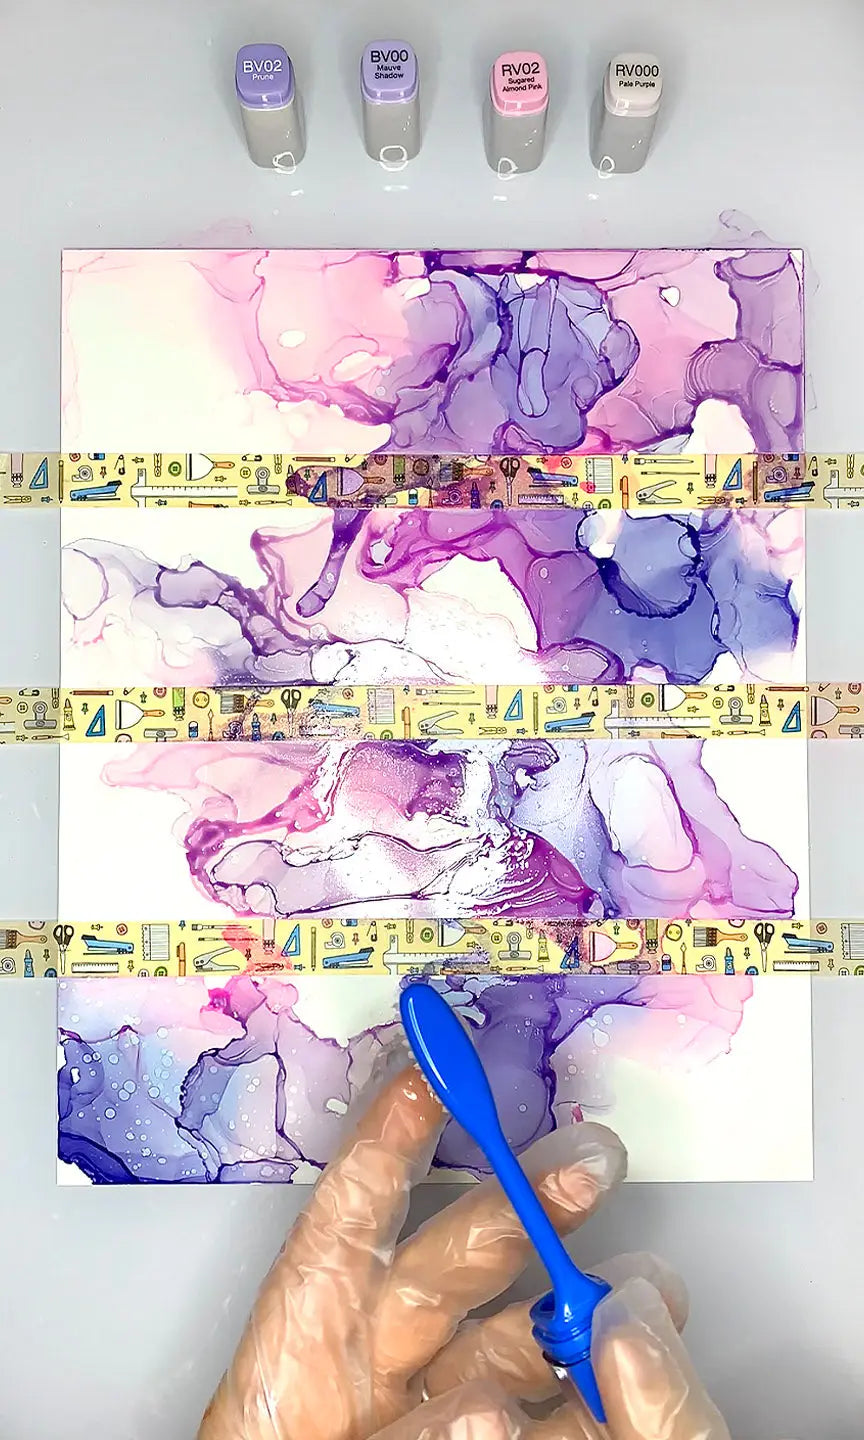
Now that I’ve added all of the ink that I would like for this painting, it’s time to create my favorite effect with Copic Ink: the splatter! Grab a firm-bristled toothbrush and dip it into the pure isopropyl alcohol solution. Tapping the excess off along the rim of the container, use your pointer finger to quickly brush the bristles over the painting, especially over the darkest areas as this technique appears the most obvious in those areas.
Then, once you’ve added the splatter technique, wait 5 minutes until the ink has settled and is dry on the page. Once the ink is dry, gently and slowly remove the strips of Washi tape, creating a 45 degree angle as you remove the tape. Each of the bookmarks are starting to really stand out against the crisp white edges produced from the tape!
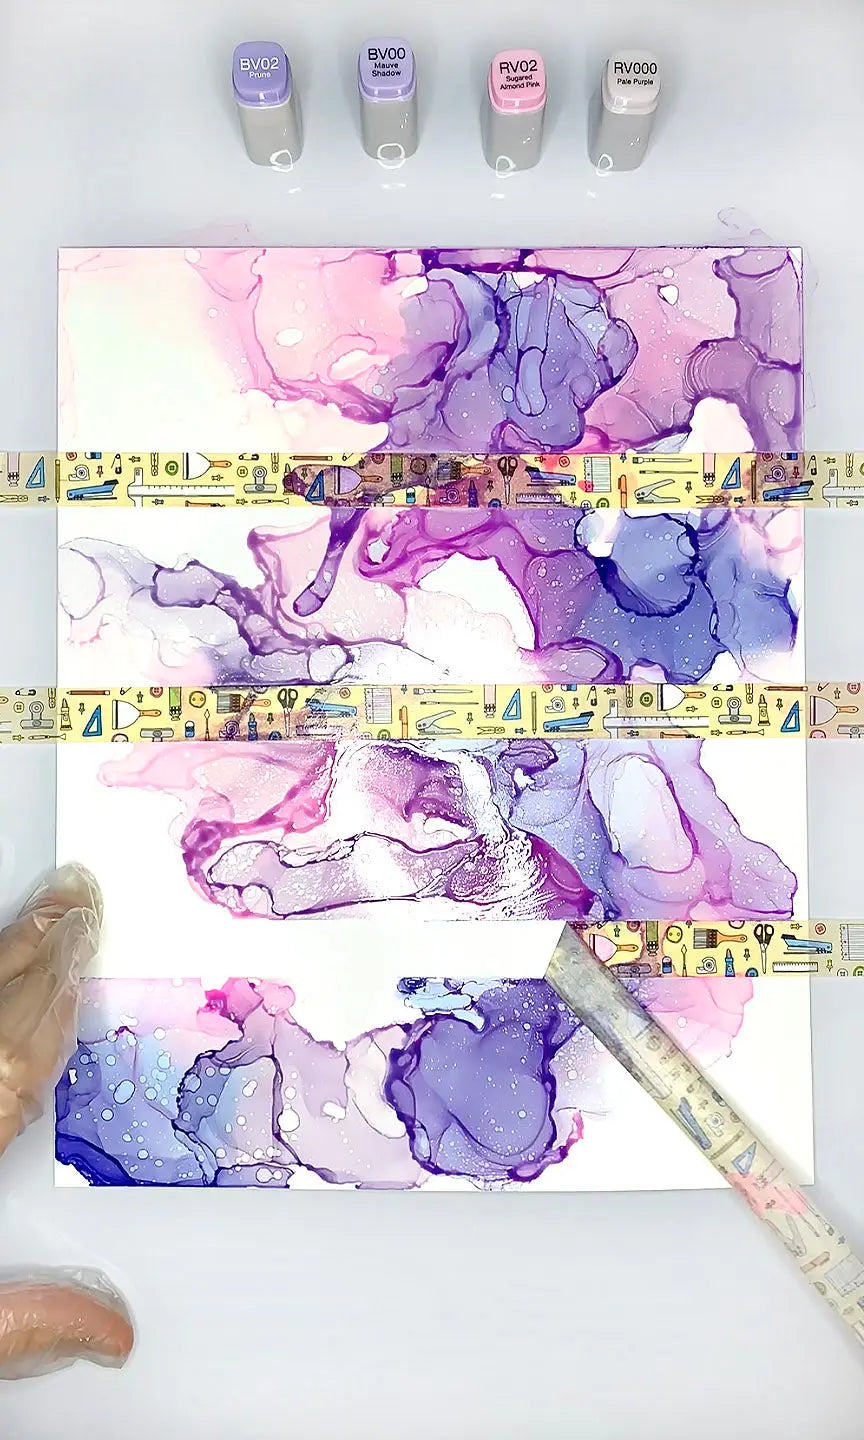
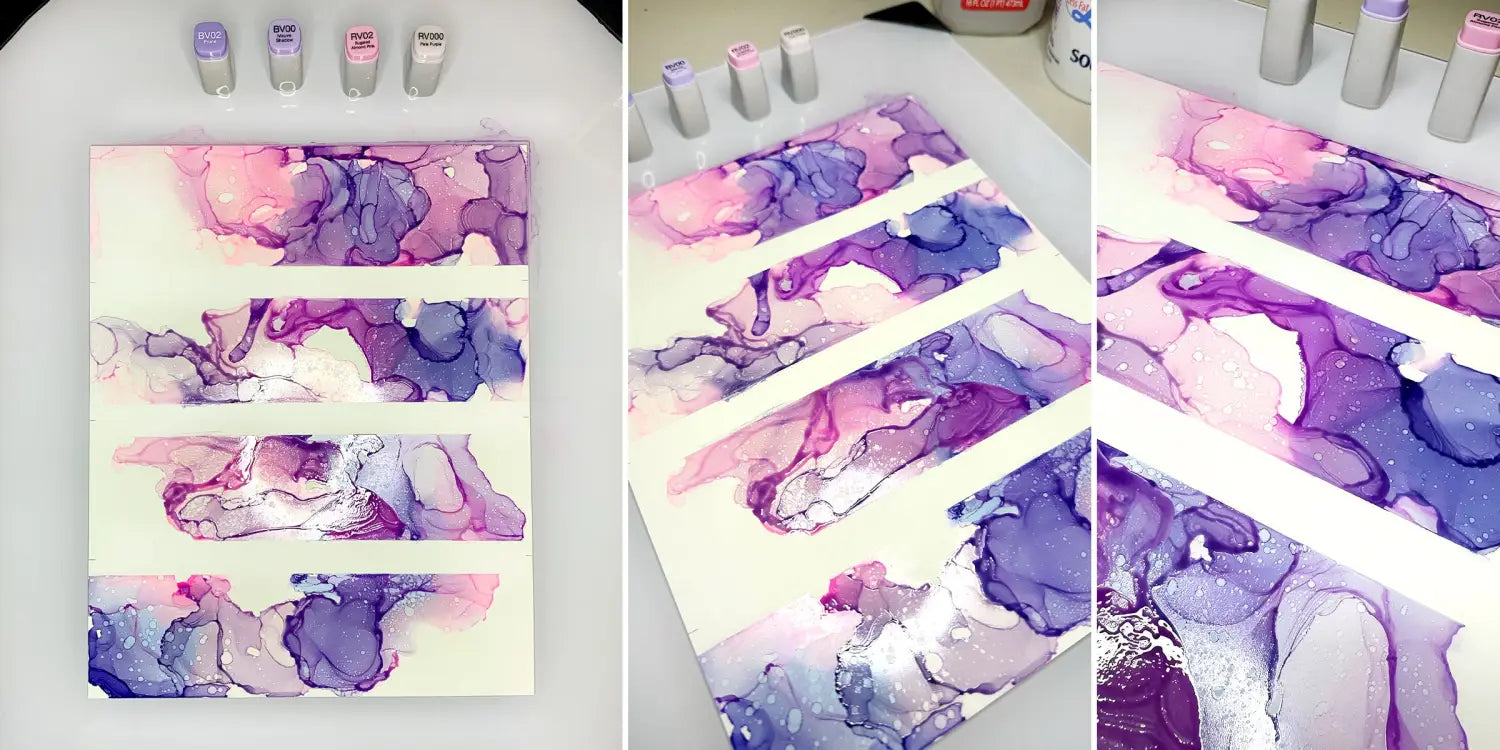
Next up, you guessed it, grab your pencil, ruler, and some scissors to cut each of the bookmarks out (or, you can use an X-acto knife and ruler for more precision). This step is pretty straightforward; you can cut straight up against the edge of each bookmark section, or you can keep a white border along either side. Just be sure that all of the ink on your page is dry before cutting!
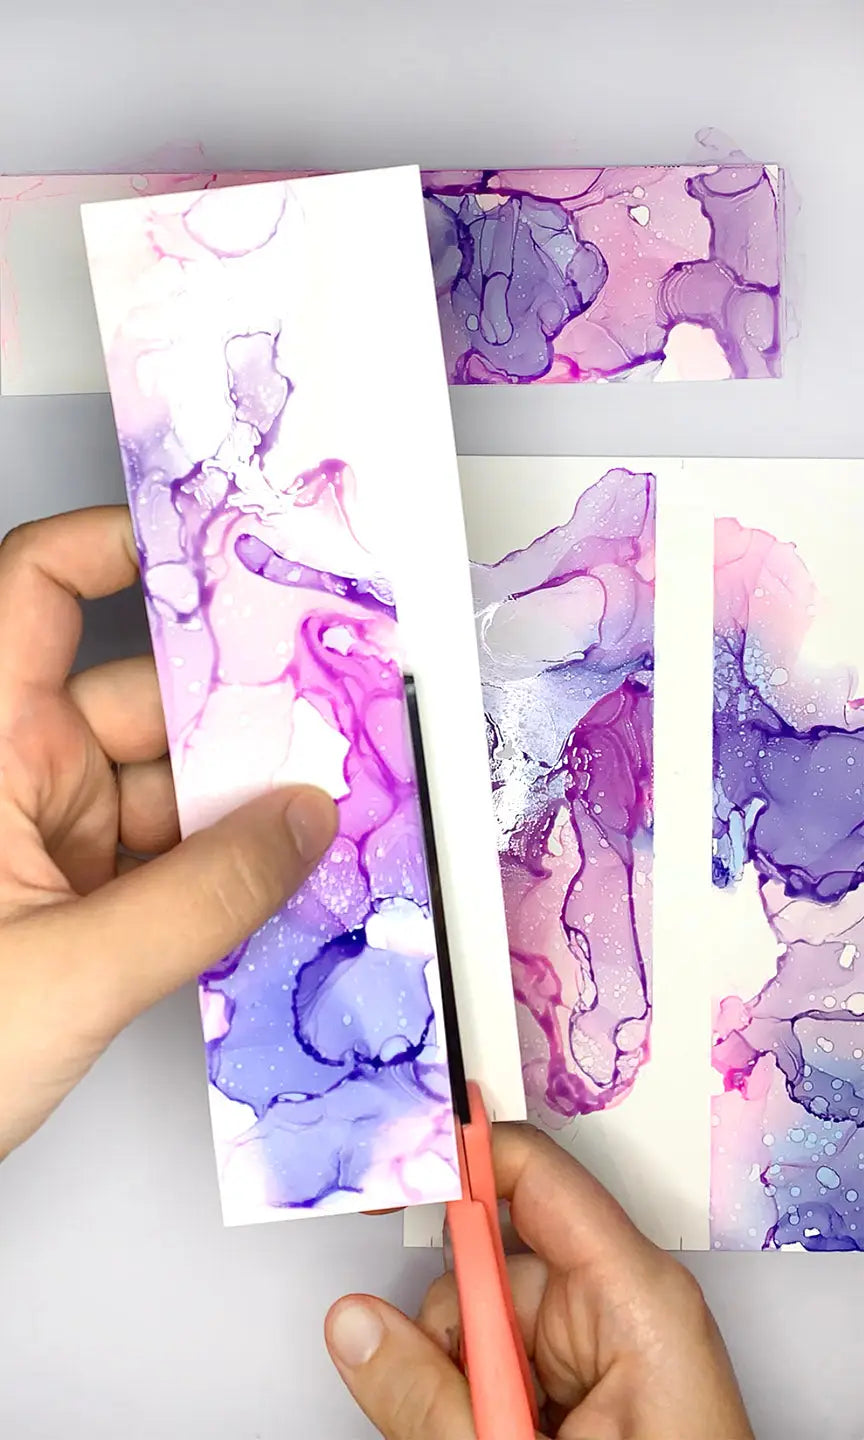
And there you have it! You now have 4 individual bookmarks made from one ink painting! To prevent the bookmarks from having any sticky ink residue and damaging one of your books, we recommend using Kamar Spray Varnish and spraying these bookmarks outside, or in a well-ventilated room. This varnish will “seal” the painting, and take away some of the alcohol ink tacky texture.
If you don’t have any Varnish, then you can use clear packing tape and cut strips of this tape that are a little bit longer than each of the bookmarks, then place it over your ink painting and trim to fit. This is a crafting “hack” that I love to use in many of my ink bookmark paintings!

And with that, we wrap up today’s blog on how to use Copic Ink to create multiple Bookmarks! Enjoy this holiday season with your family and friends, and stay tuned for more educational Copic blogs to come in 2024!
