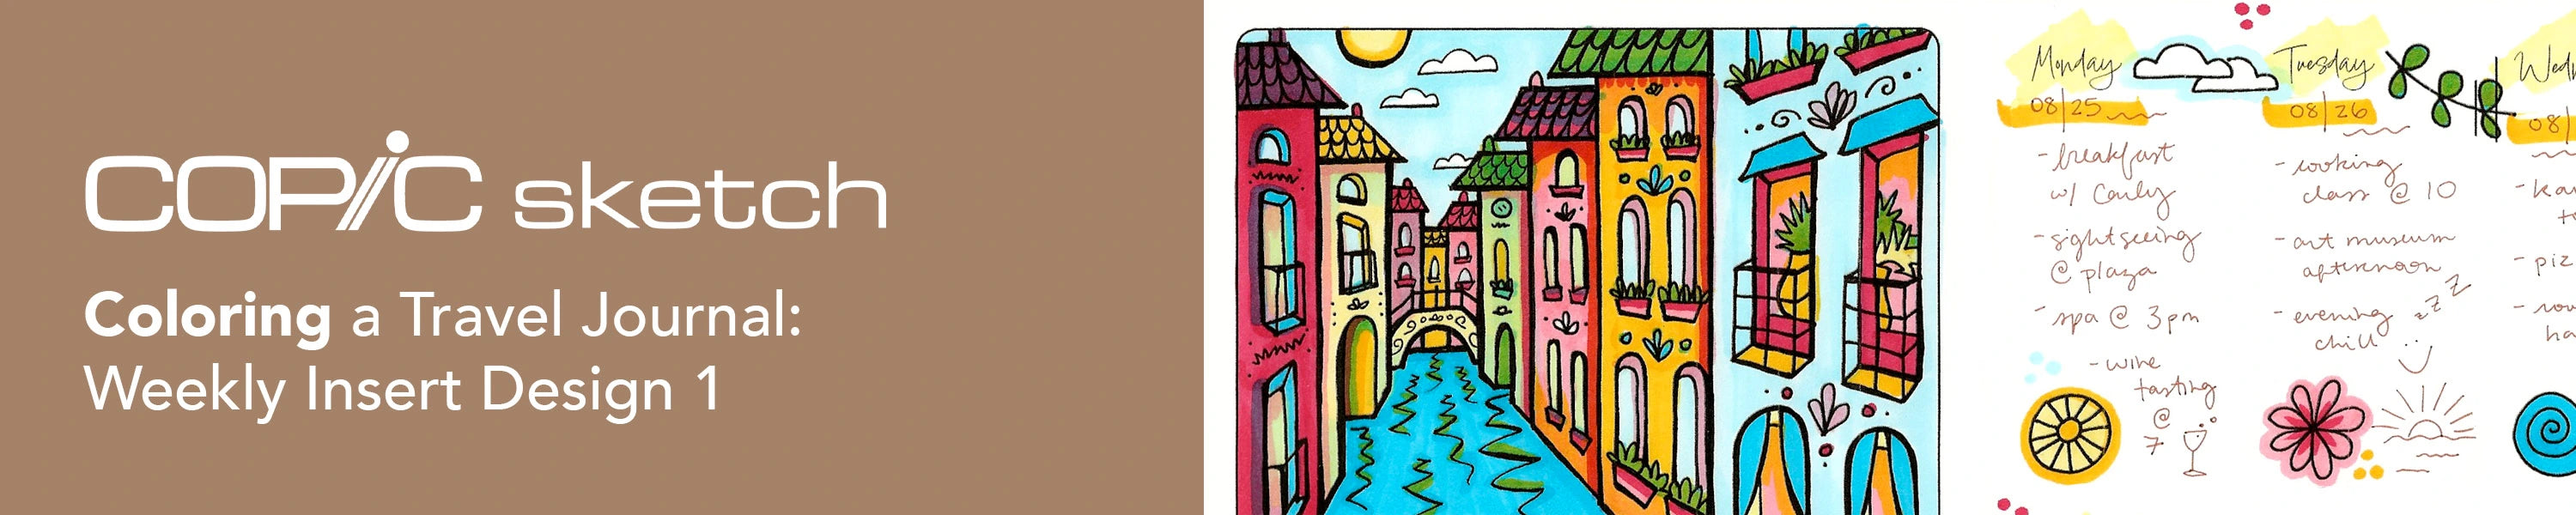
Hello Copic readers! In our previous blog, we colored our second travel journal cover using both the Sketch Earth Essentials and Bold Primaries 6pc sets. In today’s blog, we’ll be moving inside our travel journals by showing how to color a week-ahead insert using the Sketch Perfect Primaries 6pc set and a Sepia 0.3 Multiliner pen. And with that, let’s take a look at the templates below and get started!
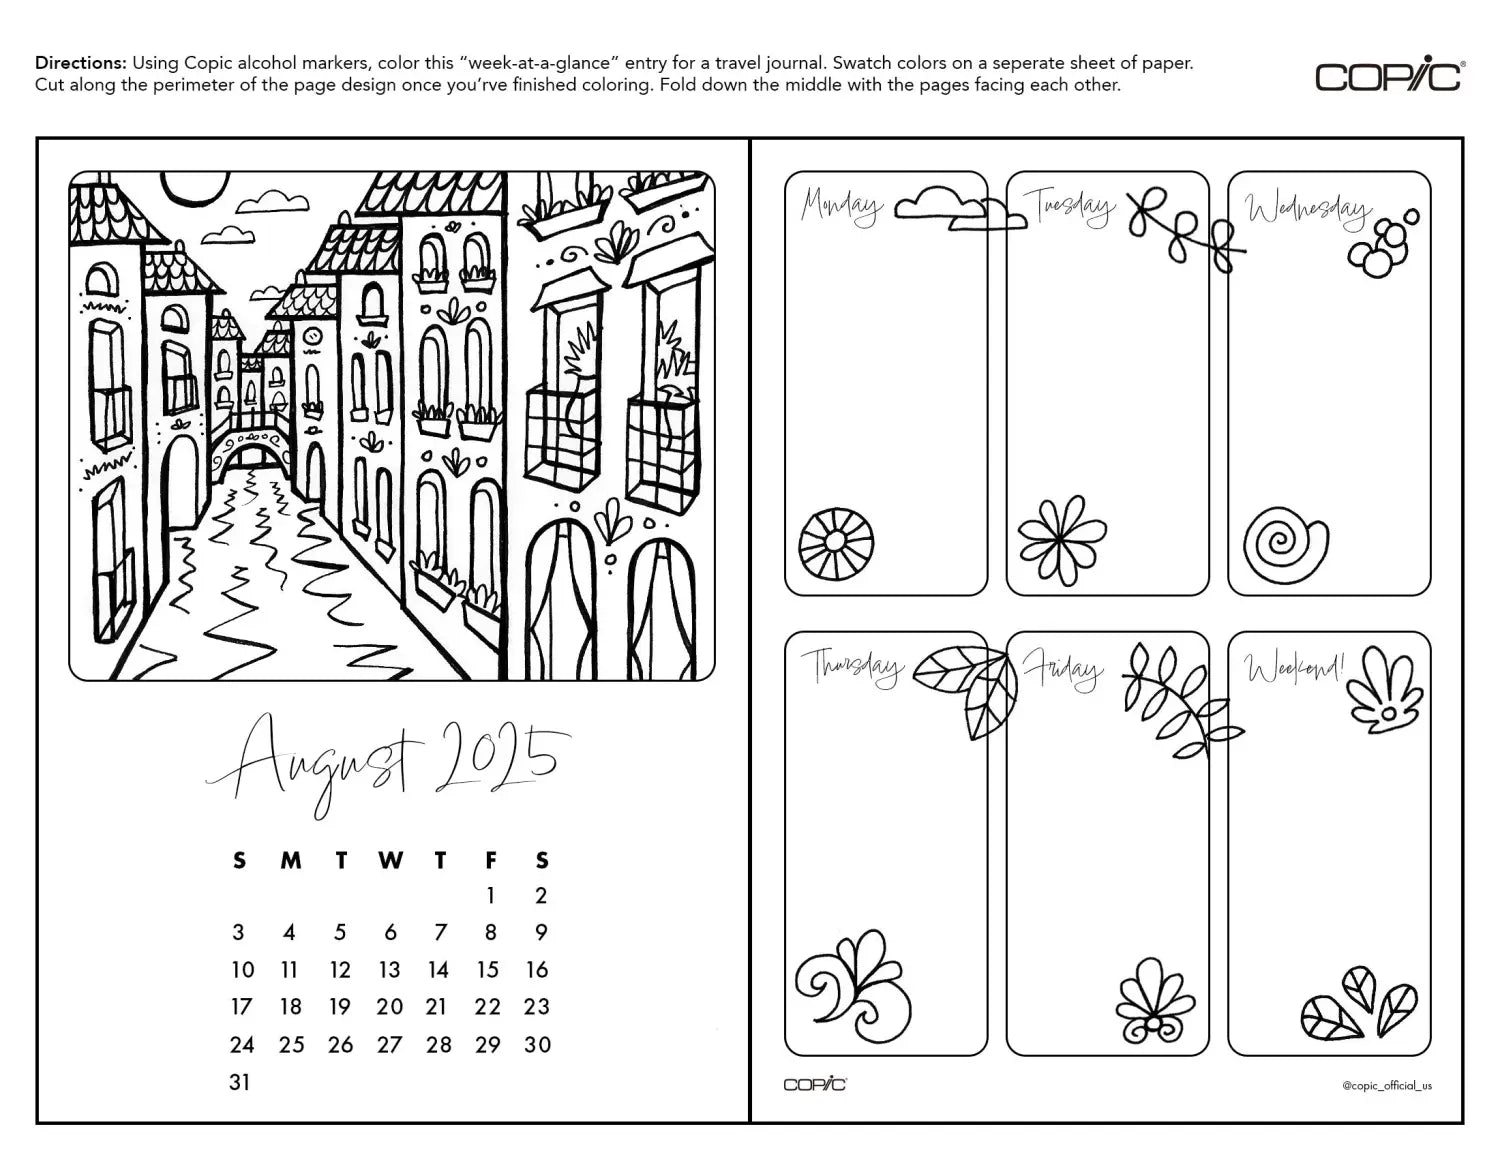

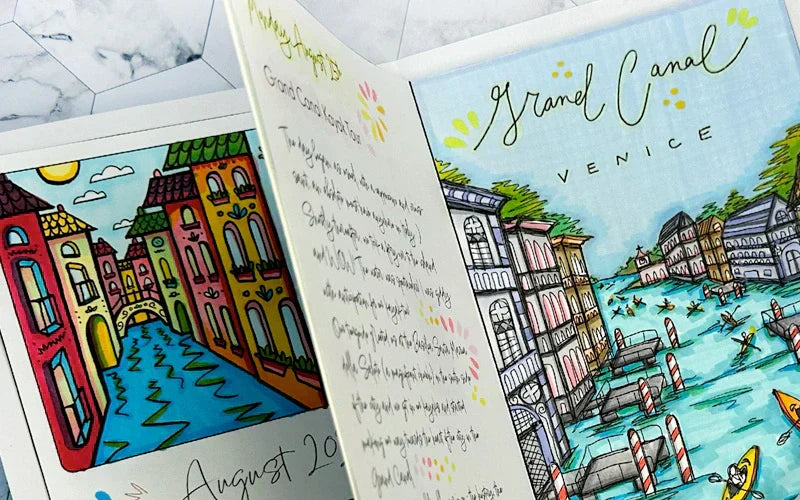
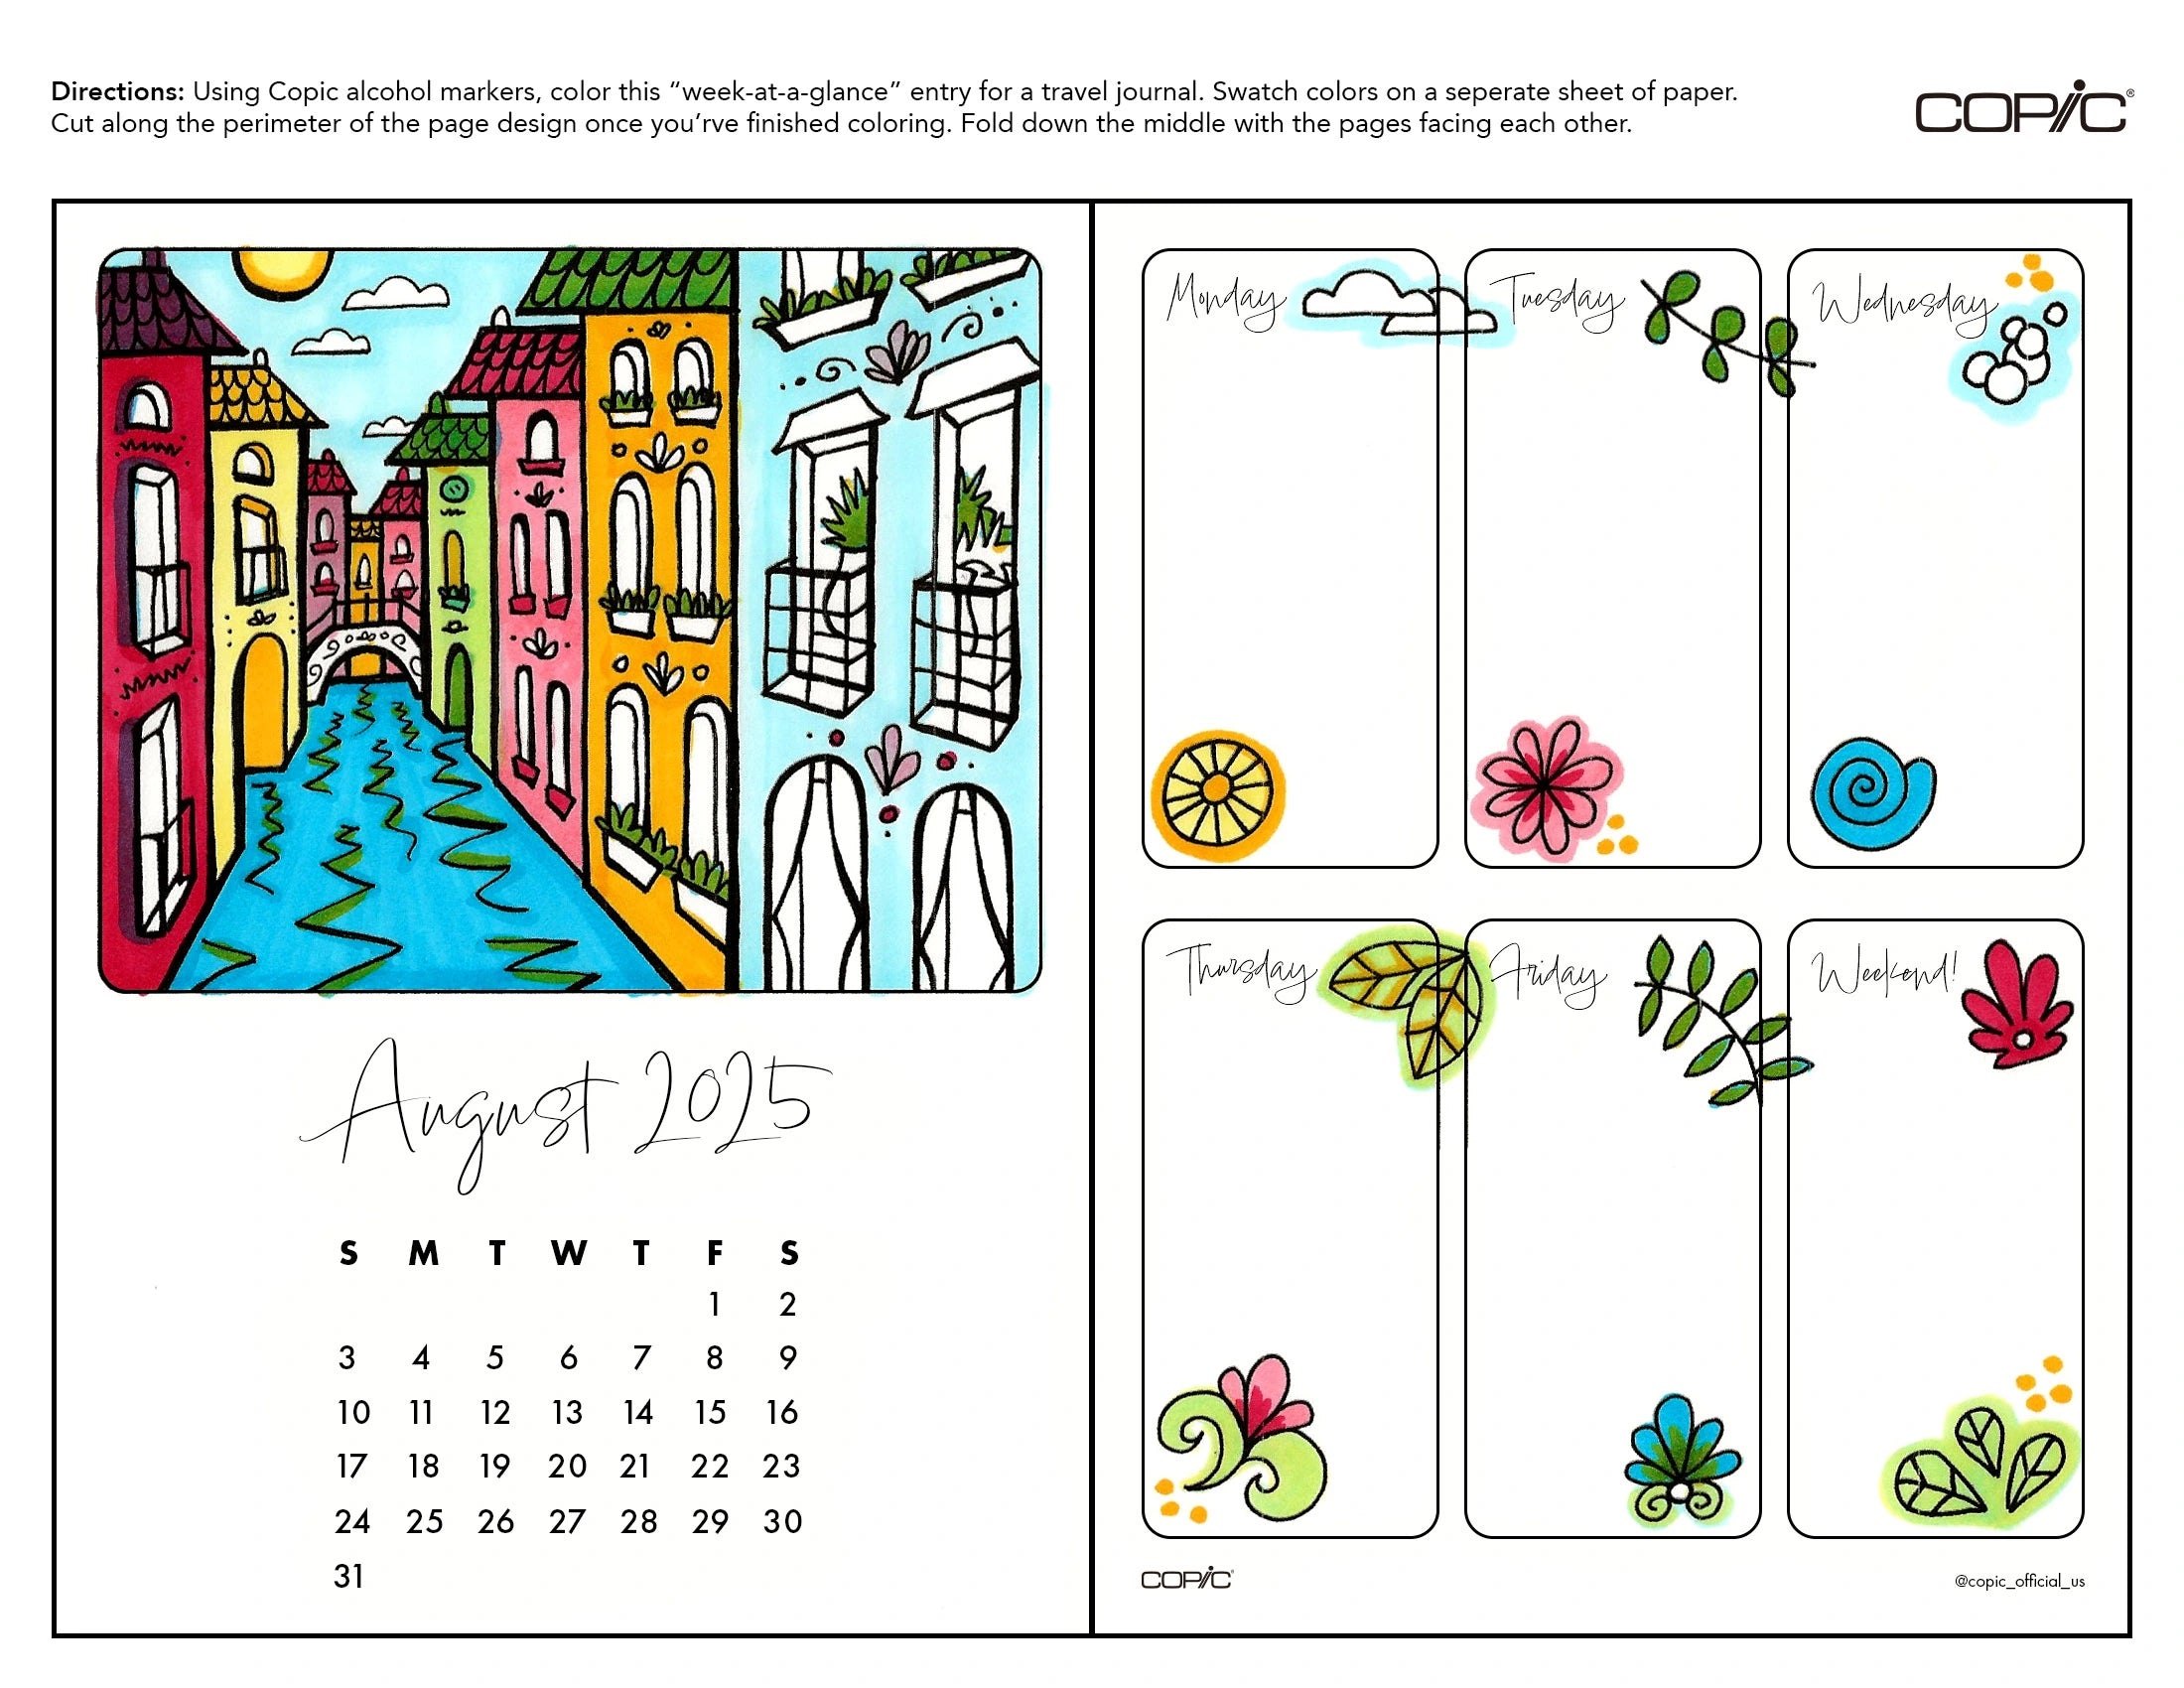
For today’s blog, we’ll be using the template on the top for a trip that took place during the month of August 2025, but we’ve also included a blank template below in case you want to fill out the days of a different month from your own trip. Both of these templates can be downloaded here in our line art gallery.
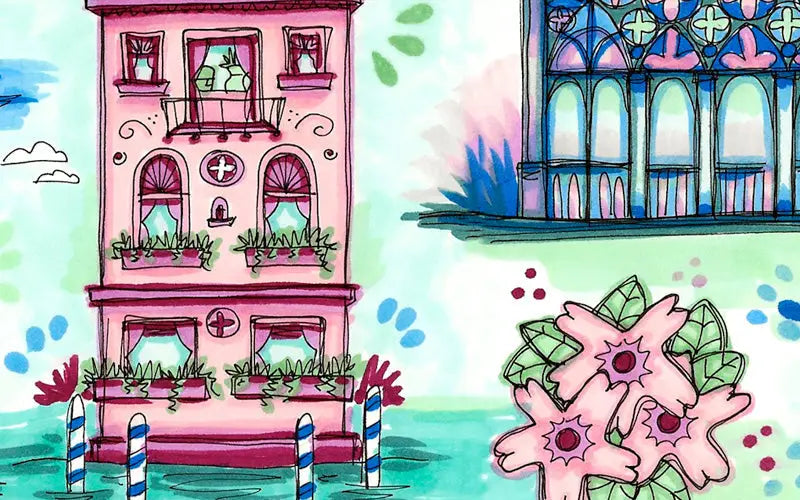
Beginning with B00 for the sky and B04 for the water, the artist uses the flexible Super Brush nib to begin coloring the vibrant Venetian drawing on the left. The artist then begins to add Y19 and Y13 to the illustration, with some of these yellows being used to layer on top of the blues to create a color not in this 6pc set: green! This is one of the reasons why the artist chose to use the Perfect Primaries set - for its versatility and ability to make the secondary colors!
The artist then continues working with the Super Brush nib, adding reds (R43 and R46) to both sides of the page. Once these bold reds are added in a few areas, the artist goes back to using the blues and yellows, slowly filling in all areas on both sides of the middle folding line, creating an even combination of primary and secondary colors.
During the first phase of coloring, it’s important to note that the artist is doing their best to stay within the borders of the illustration on the left, but sometimes, the alcohol ink can bleed outside the lines if the nib gets too close to the edge. This can be difficult even for a seasoned pro! This is why we recommend using a few strips of washi tape or painter’s tape to ensure a clean border for your illustration. These types of tapes, especially if they’re dabbed on your clothes a few times before being adhered to the paper, won’t strip away the paper fibers once it’s time for removal and are a great tool for creating clean, crisp edges for your Copic marker drawings.
Continuing the coloring process, the artist begins to add more marker layers to the illustration on the left and the doodles on the right, as well as highlight the dates of the trip and add some personalized notes with the Sepia 0.3 Multiliner pen. The artist chose the Sepia pen so that the personalization will stand out against the black linework, font, and other black elements on the template. Plus, the Sepia color is a more earthy, rustic tone, making it a great choice for capturing a vintage-look for your travel journal entries!
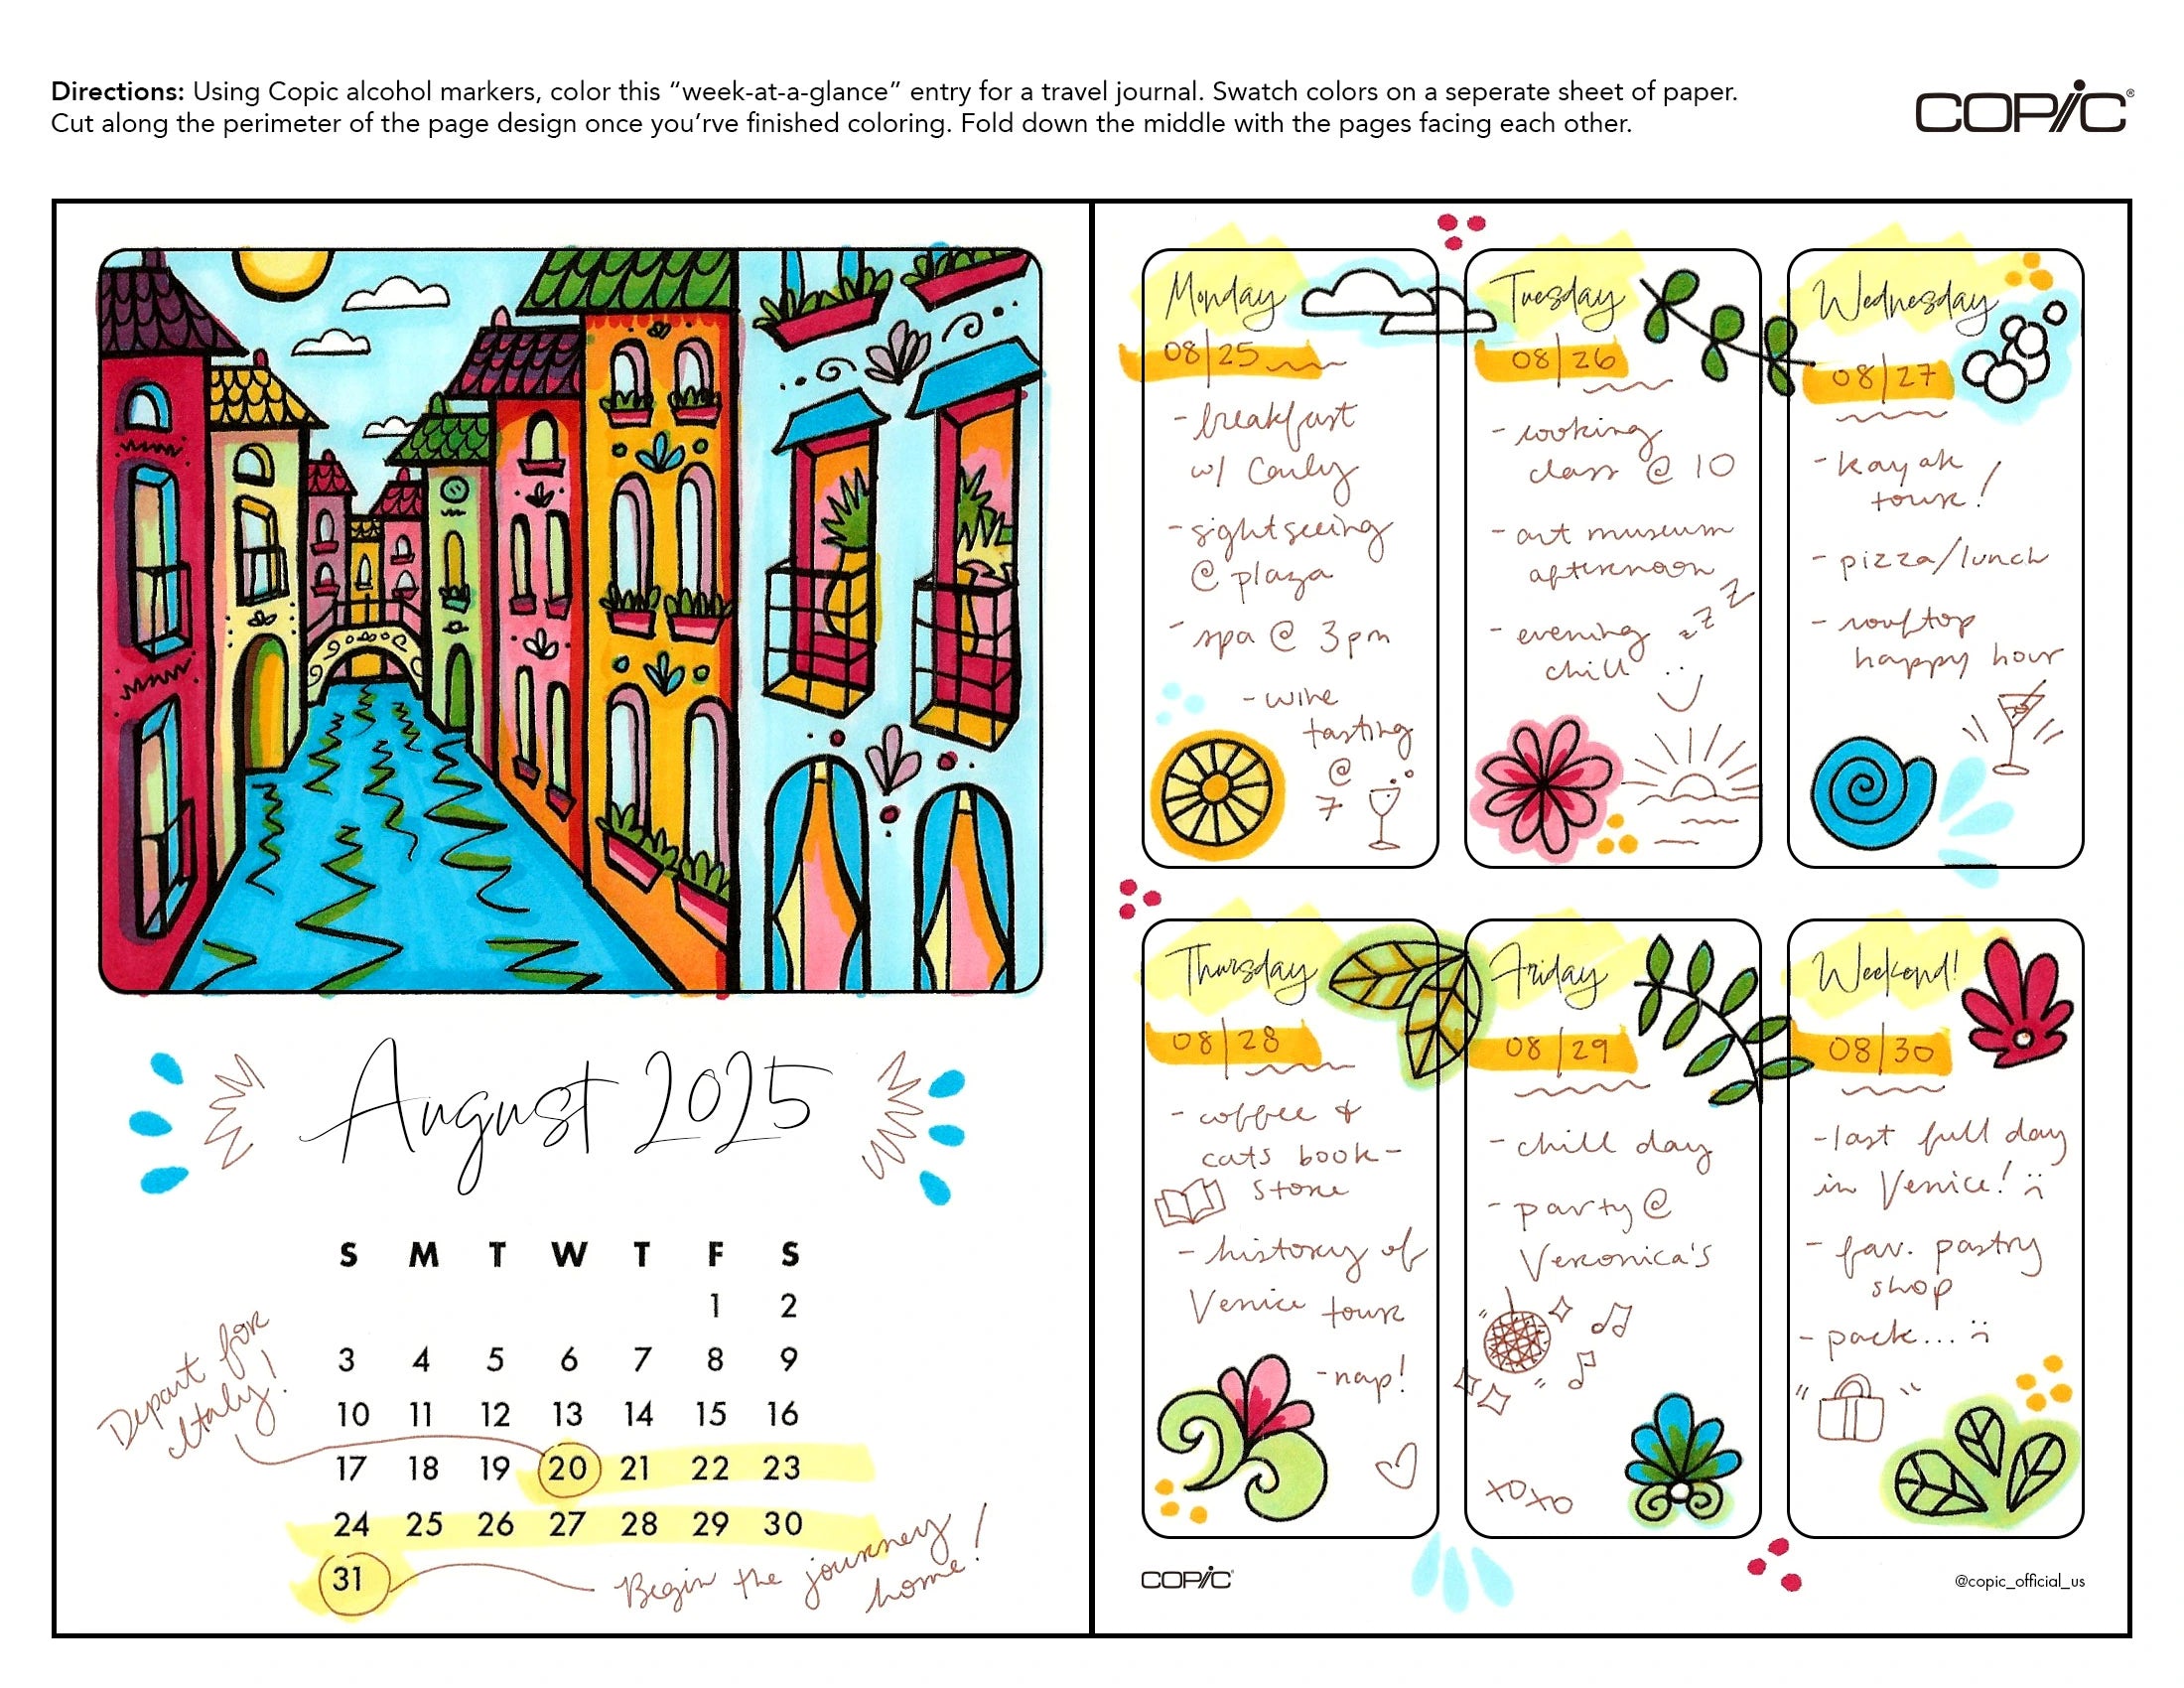
The artist continues to add layers of red, blue and yellow to the page, while also using the Super Brush nib to add accent marks like the tear-drop shape and the small clusters of dots. To make the tear-drop shape, simply turn the marker on its side and quickly dab the shape of the nib to the paper, starting with the tip of the nib and ending with the thickest part/where the nib meets the marker barrel. To create the dots (this technique is pretty straight-forward), simply hold the marker vertically and quickly dab the tip of the nib to the paper. The less pressure you apply, the smaller the dot(s); the more pressure you apply, the bigger the dot(s).
The artist wraps up the coloring process of this travel journal entry by using the Y13 and Y19 colors in the Perfect Primaries set as highlighters, highlighting both the dates in August when the trip took place, as well as the days of the week and the dates below (written in Sepia). The colors in this 6pc set are so versatile, we highly recommend them for traveling and plein air sketching!
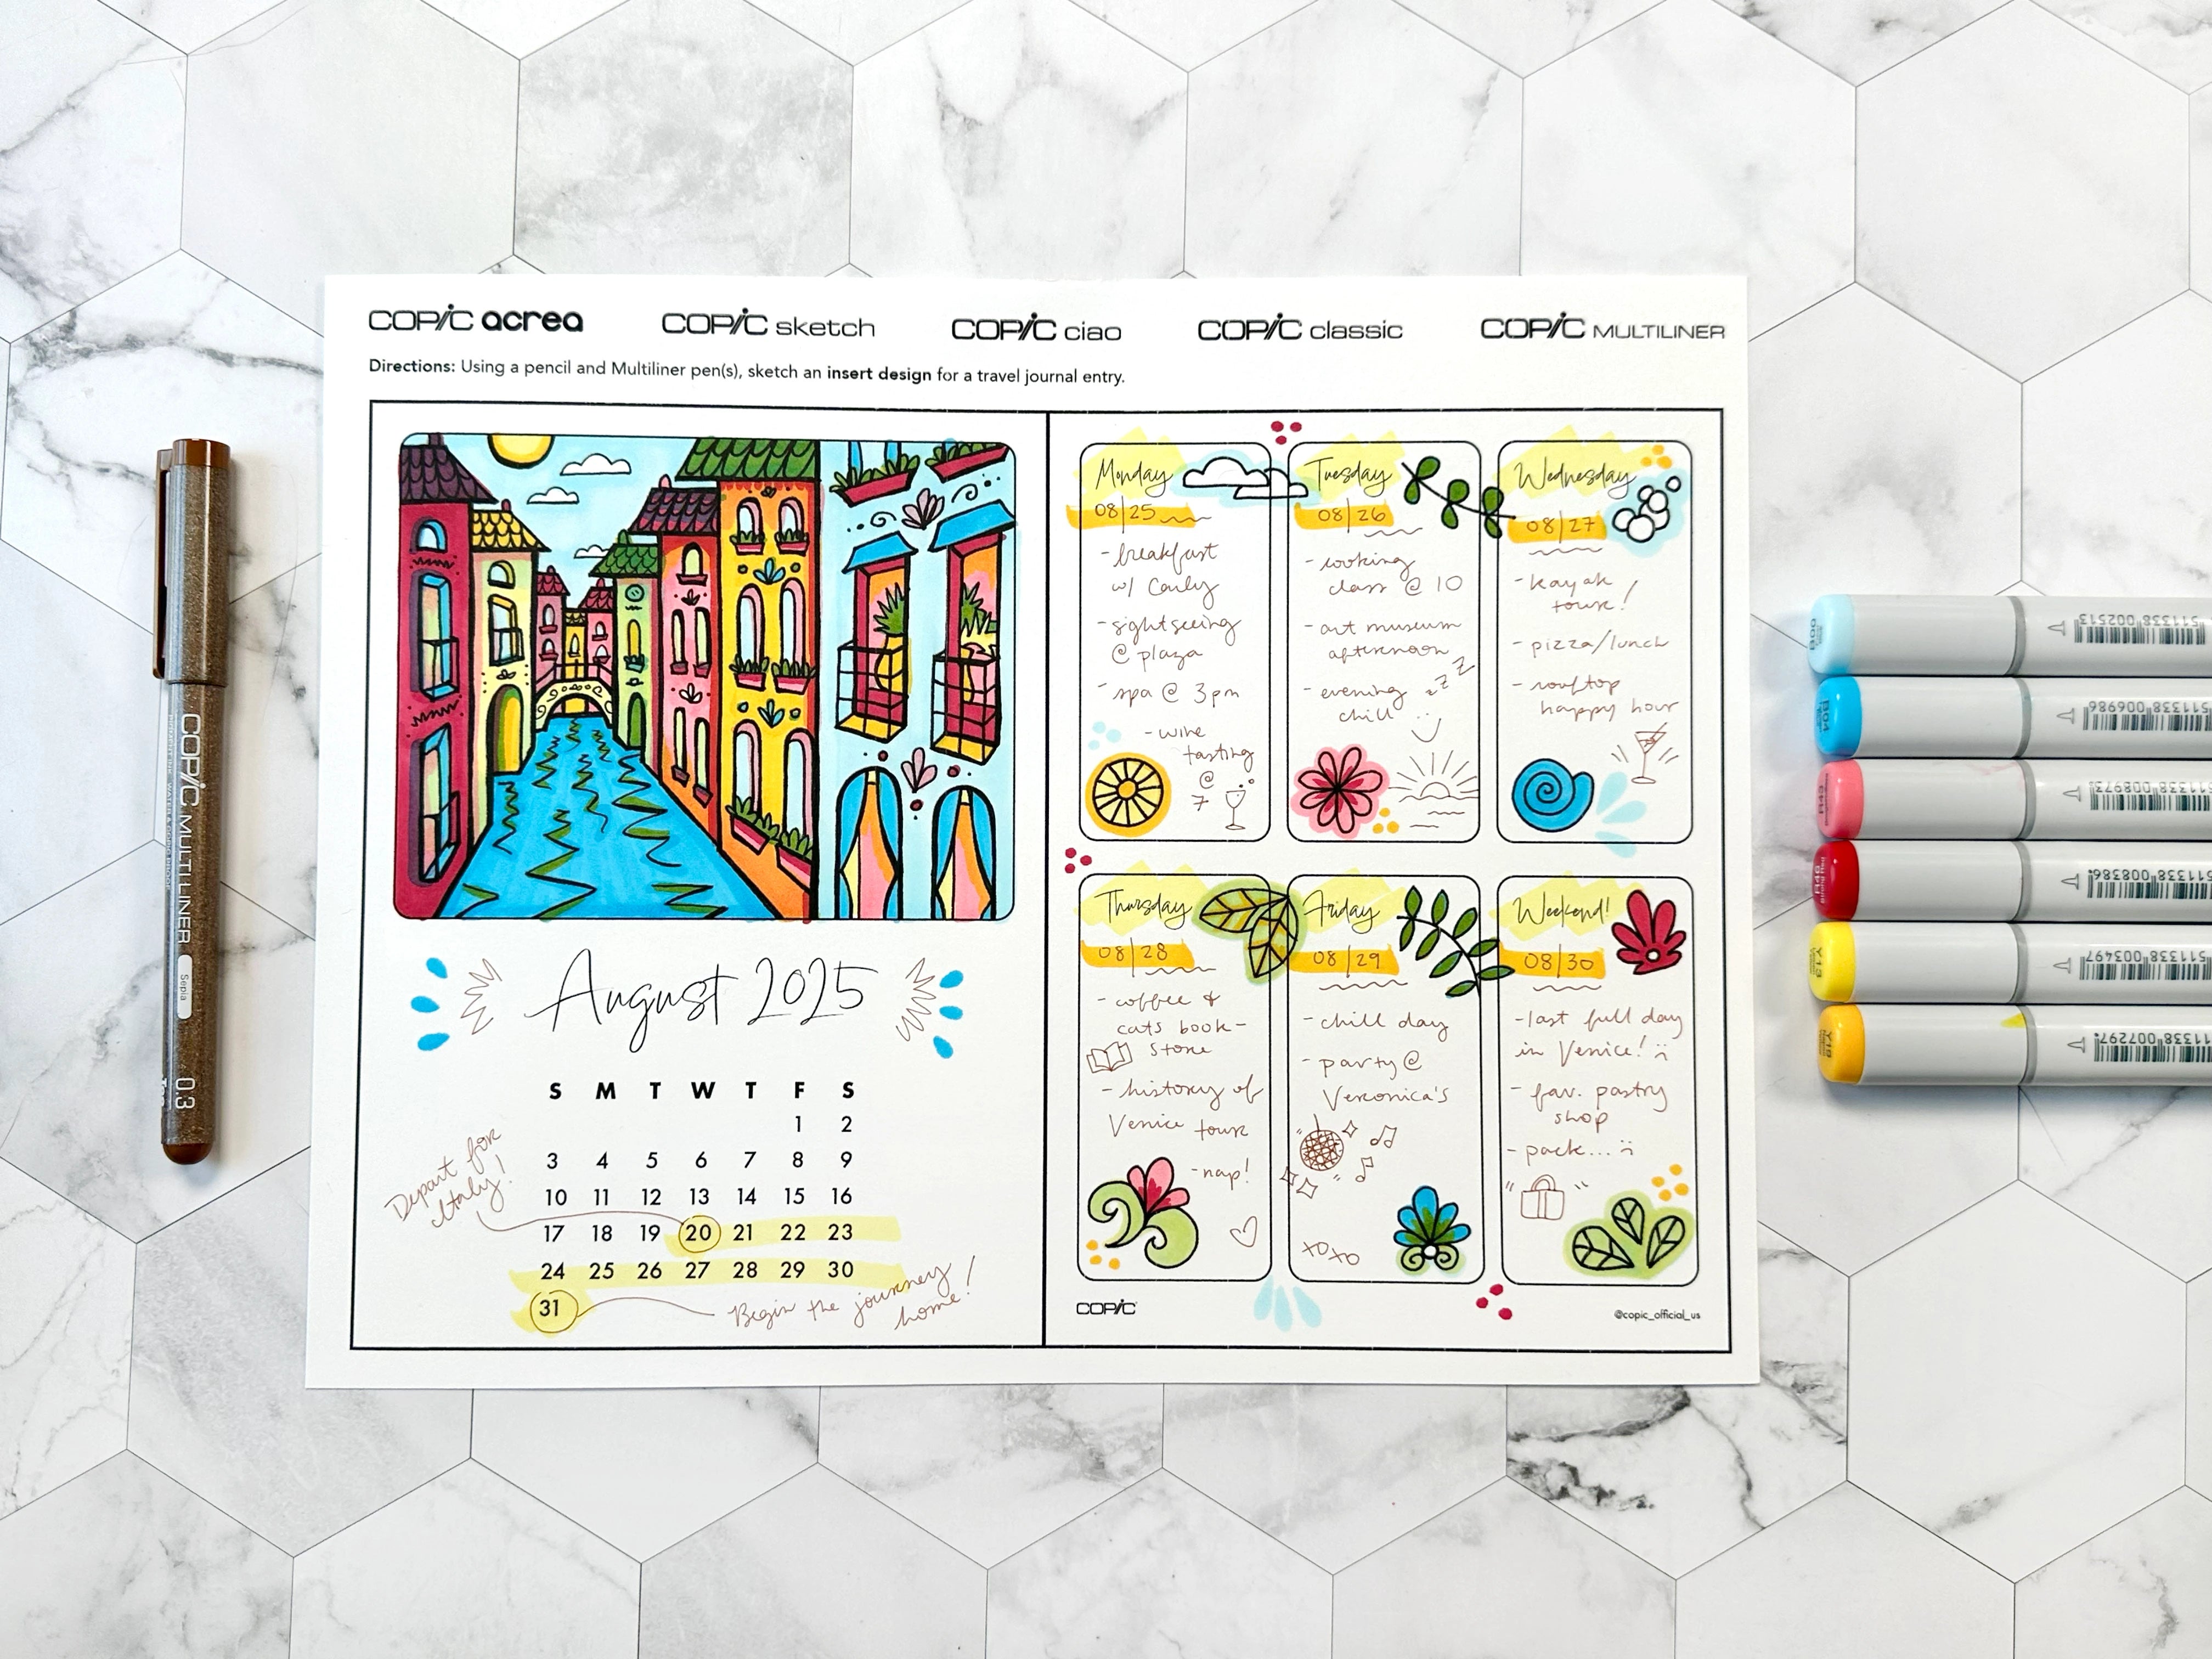
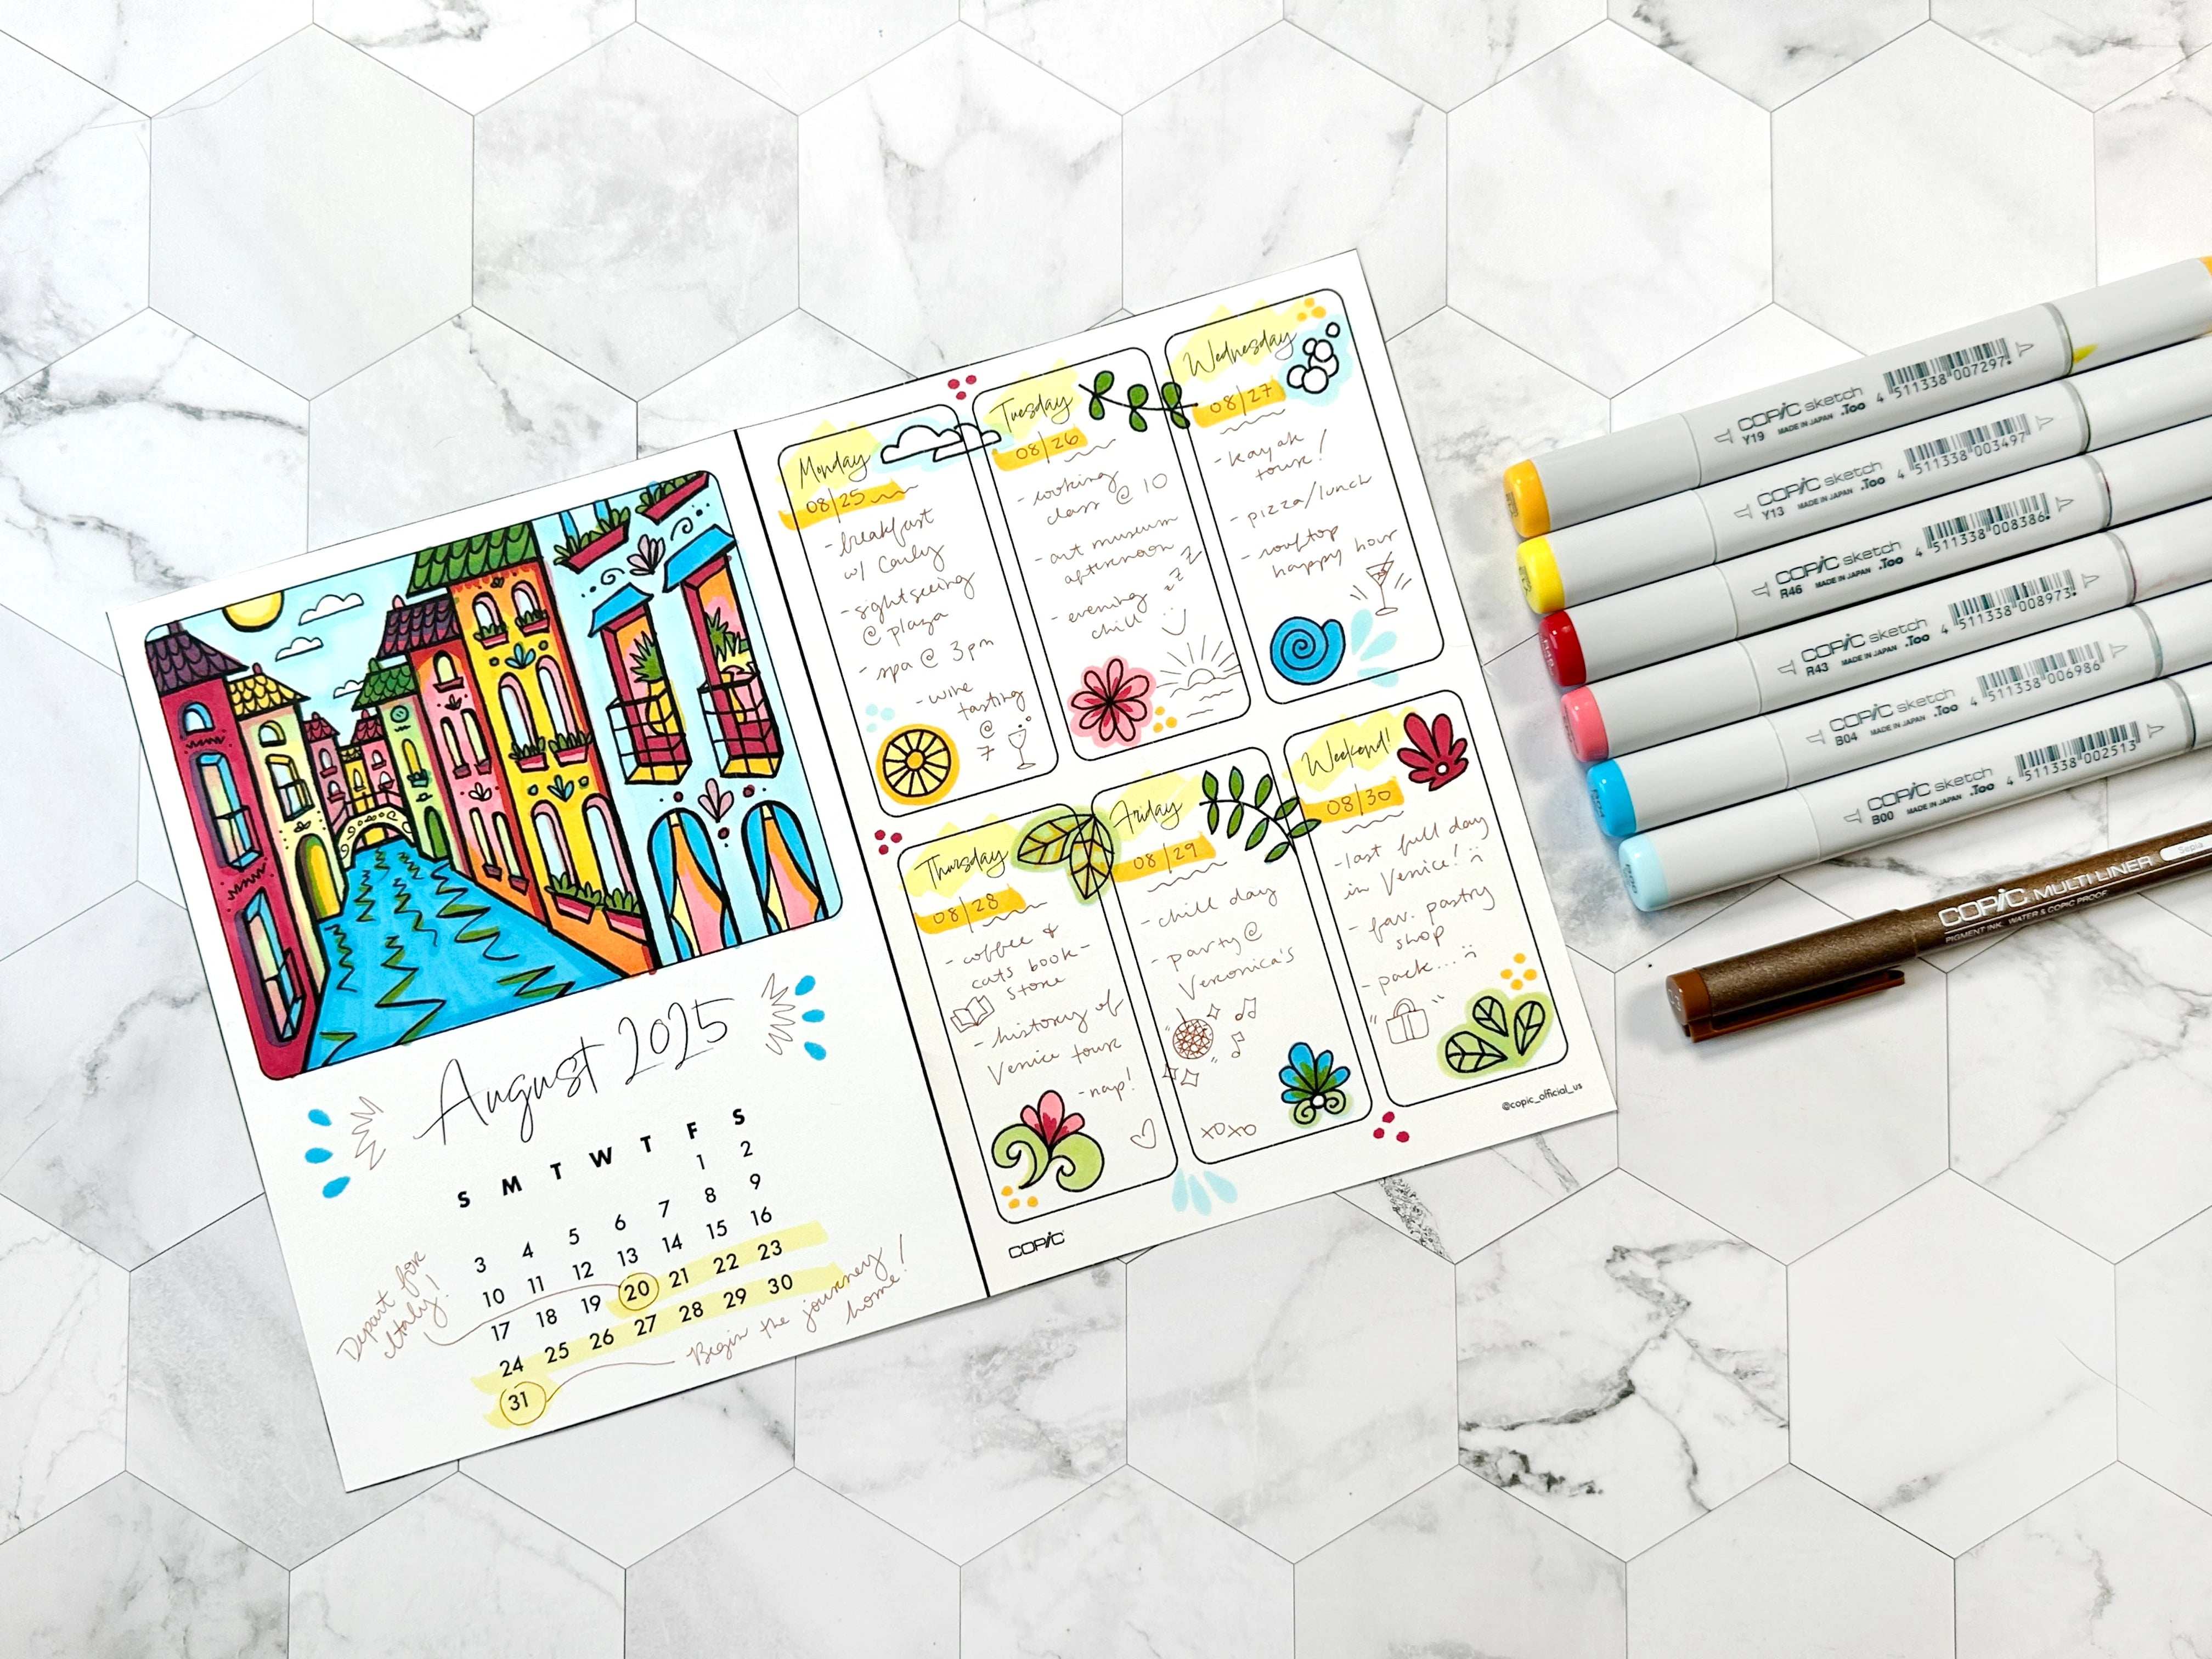
The final step after your coloring and writing is complete is to cut out the template and fold the two halves inward so they’re facing one another. If you’ve been following along with our previous blogs, this insert goes inside one of the travel journal covers. In the video above, the artist chose to pair this insert with the Venetian cover, colored in our blog here.
And with that, we wrap up today’s blog! To give this lesson a try yourself, download the above template here from our line art gallery and print it on a sheet of smooth cardstock suitable for Copic alcohol markers. If you’re wondering what kind of paper works well with a home printer and can also handle multiple layers of coloring with Copic markers, we recommend using Neenah Bright White Premium Cardstock 65 lb. paper, which the artist used in this blog. Then, using the Sketch Perfect Primaries 6pc set (or any other set of your liking), color the illustrations and fill in the dates with a trip you already took or a fictional trip you’d like to take someday.
If you’d like a blank version of this template mentioned at the beginning of this blog, you can find that here in our line art gallery.
In our next blog, we’ll be showing you another way you can layout and color a weekly insert design for your travel journal using the Sketch 6pc Pale Pastels set. Until then, don’t forget to follow us across our social media channels @copic_official_us, and sign up for exclusive discounts and prizes by joining the Copic Club! One last thing - use #copicwithus or tag us @copic_official_us for a chance to have your drawings or workspace featured on our Copic US social media channels.
Thank you so much for reading and enjoying Copic markers as much as we do! 😀