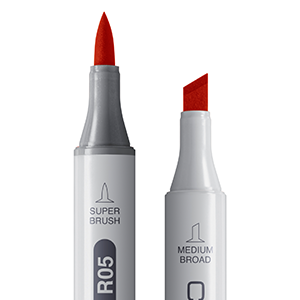

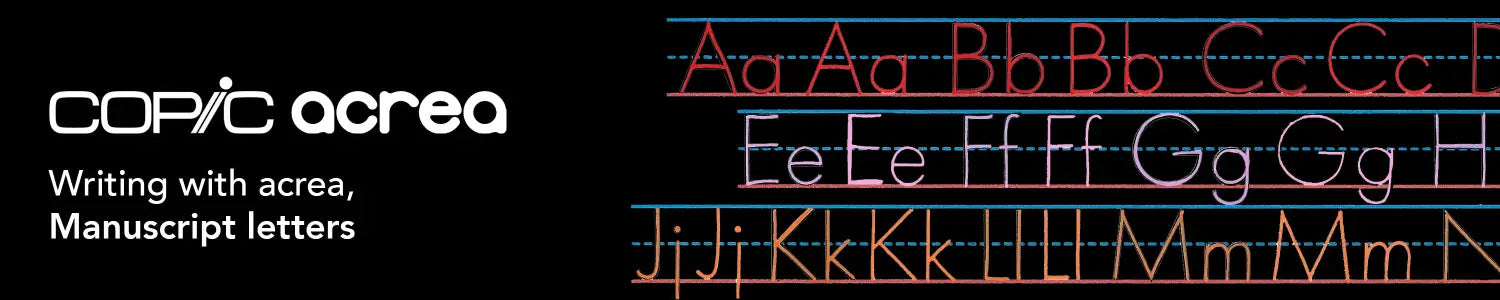
Greetings Copic readers! In our previous blog, we compared the properties of Copic alcohol markers (Sketch, Ciao and Classic) with Copic paint markers (acrea) by coloring a simple greeting card design. Today, we’re going to shift gears and learn how to use acrea as a writing instrument. And with that, let’s get started by taking a look at the manuscript template below!
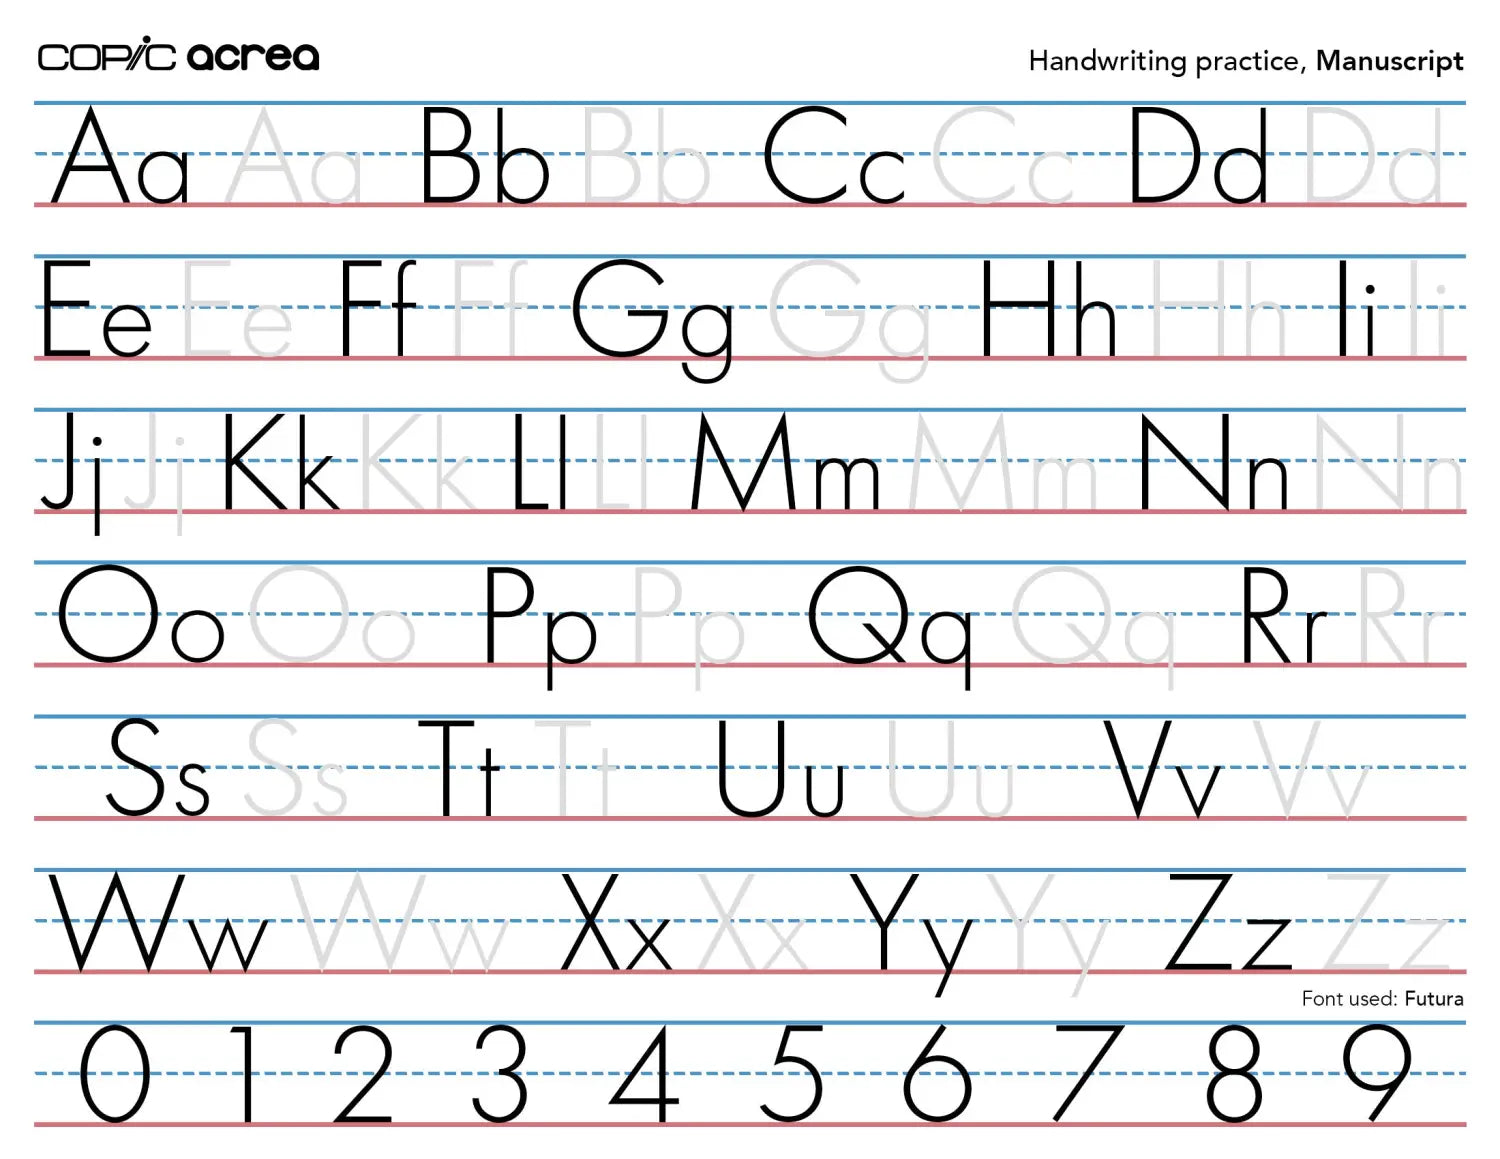
Looking at this template may give you a bit of nostalgia, thinking back to your elementary school years when, for many, it was common to see these “highway” templates (two solid lines with a dotted ‘lane divider’ in the middle), instructing our younger selves how to write each letter and number in the English alphabet.
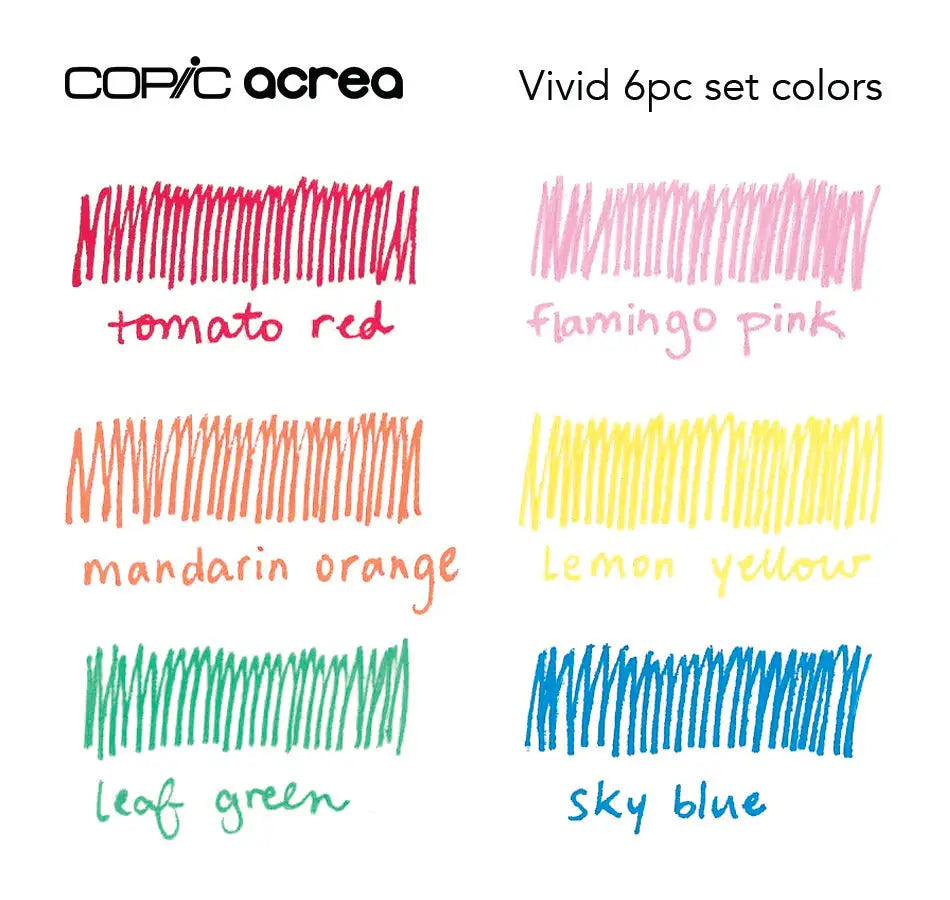
Today, we are going back to basics and will use the above template to refresh our handwriting (and in later blogs, lettering) skills by using the acrea 6pc Vivid set to trace over each letter and number. Let’s get started by swatching out those acrea set colors on a blank sheet of paper!
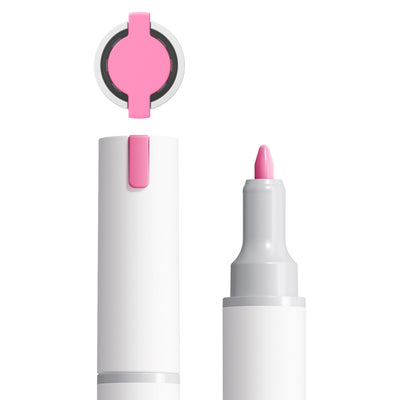
What’s so special about the new Copic acrea marker is that it doesn't have to be used for just coloring. While the Copic brand is most commonly known for its highly blendable alcohol-based markers, this new paint marker brings painterly properties to the Copic product-line that wasn’t there before. Acrea ink is very rich and opaque, making it perfect for adding highlights to alcohol marker art, but this paint marker is also ideal for card-making, journaling, scrapbooking, crafting, and other hobby arts.
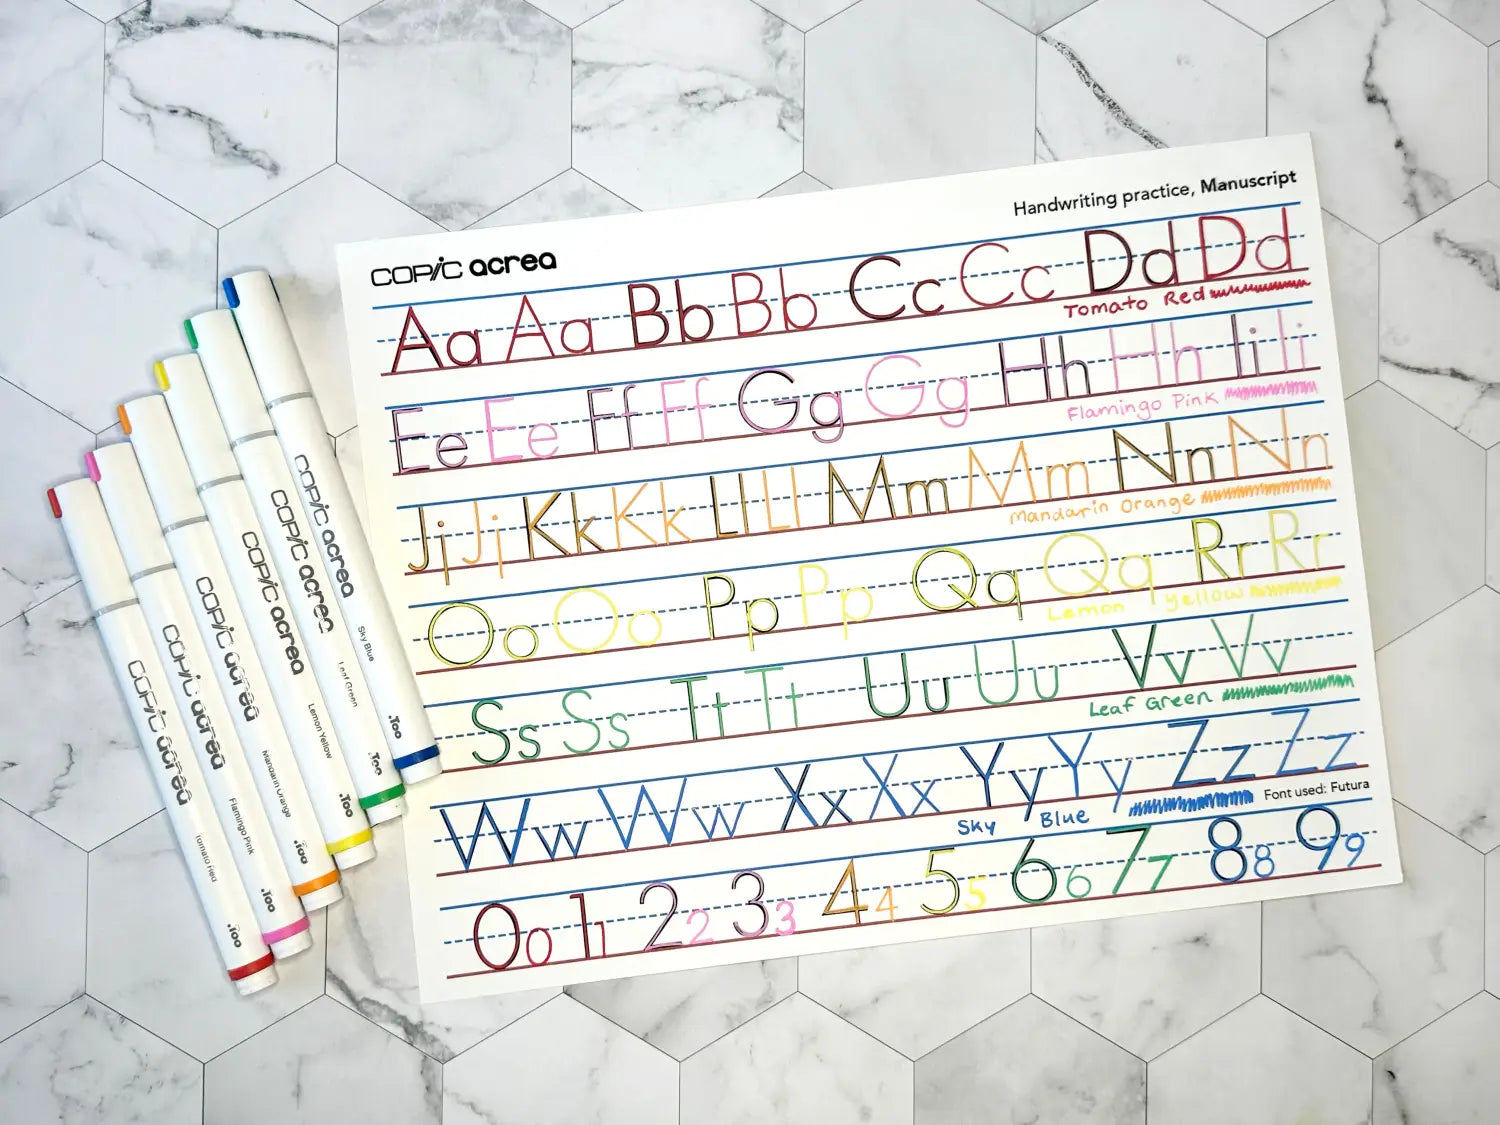
Now that our marker colors have been swatched and our template printed (the artist is using Neenah Bright White Premium Cardstock 65 lb. paper), it’s time to start tracing over each letter! We’ll get started by using Tomato Red for the first row. Feel free to start with a different color if you want, and if you want to only trace over the light gray letters so you can refer to the black letters as a reference, that’s fine too. Use this template as you wish and tailor it to your specifications!
Next, the artist chooses Flamingo Pink to trace over each letter in the second row. Notice, too, how the artist is keeping a scrap piece of paper nearby in case they need to shake the marker and pump the nib a few times to make sure there’s an even ink flow. Layer each letter more than once if you didn’t completely cover each letter in one pass, or if you want to make each letter thicker to completely cover either the black or gray letter from the template. Layering is always easier (for both paint and alcohol markers) when the first layer has completely dried.
As you may have guessed, the artist now moves on to tracing the letters in the 3rd row using Mandarin Orange, the 4th row using Lemon Yellow, the 5th row using Leaf Green, and the 6th row using Sky Blue. Take your time tracing over each letter and getting comfortable “activating” the acrea pens. Some colors may need to be shaken, pumped and scribbled on a scrap sheet of paper more than others in order for the ink flow to be consistent. Take your time. Be patient! There’s no time limit to practicing your handwriting, especially if it's been a while since you’ve written or drawn anything by hand.
The 7th and final line of the template include numbers. With each of the six colors in the Vivid set used in previous lines, the artist decided to use each color again at least once and to free-hand a smaller version of each number beside the larger one. Some of these numbers are closer to the original than others, and that’s why we encourage practice!
After finishing your tracing, print this template again from our line art gallery for additional practice, being sure to print and write on smooth paper. If you’re feeling confident with your manuscript after this lesson, try writing each letter on a sheet of lined paper and practice free-hand. Having clear and consistent handwriting is a wonderful (and increasingly more rare) skill to have!
And with that, we wrap up today’s blog! To give this lesson a try yourself, download the above templates here from our line art gallery and print them on smooth sheets of cardstock suitable for paint markers. We recommend either Neenah Bright White Premium Cardstock 65 lb. paper (which was used in this blog), or Neenah Exact Premium Cardstock 110 lb. paper. Then, after you’ve printed the template, grab your Copic acrea marker set, swatch your colors, and begin practicing your letterforms!
Until next time, don’t forget to follow us across our social media channels @copic_official_us, and sign up for exclusive discounts and prizes by joining the Copic Club! One last thing - use #copicwithus or tag us @copic_official_us for a chance to have your drawings or workspace featured on our Copic US social media channels.
Thank you so much for reading and enjoying Copic markers as much as we do! 😀